• Shopping Cart Shopping Cart
    0Shopping Cart
SvenStudios
  • ABOUT US
    • WHO ARE WE?
    • TESTIMONIALS
  • WEDDING PACKAGES
    • ADELAIDE PACKAGES
    • AUSTRALIA-WIDE PACKAGES
    • NZ-WIDE PACKAGES
  • SERVICES
    • WEDDING PHOTOGRAPHY
      • ADELAIDE WEDDINGS
      • DARWIN WEDDINGS
      • CANBERRA WEDDINGS
      • HOBART WEDDINGS
      • PERTH WEDDINGS
      • QUEENSTOWN, NZ WEDDINGS
      • WORLDWIDE
    • WEDDING VIDEOGRAPHY
    • FAMILY PHOTOGRAPHY
    • NEWBORN PHOTOGRAPHY
    • COUPLES & ENGAGEMENTS
    • PROPOSAL PHOTOGRAPHY
    • PHOTOBOOTH HIRE
    • HAPPLEE QR
    • SELFBOOTH
    • SEATSCAN
    • AUDIO GUEST BOOK HIRE
    • LIVE STREAM
  • PORTFOLIO
    • WEDDING PHOTOGRAPHY
      • SORT BY WEDDING VENUE
    • COUPLES PHOTOGRAPHY
    • FAMILY PHOTOGRAPHY
    • NEWBORN PHOTOGRAPHY
  • BLOG
  • SHOP
    • BOUQUET CHARMS
    • HAND MADE ITEMS
    • GIFT CARDS
    • DIGITISATION SERVICES
      • SUPER8 TO DIGITAL
      • VHS TO DIGITAL
    • PAY AN INVOICE
  • CONTACT
  • Menu Menu
Interesting, ideas

The Beauty Natural Light vs Studio Light in Photography

Which type of lighting—natural or artificial—to utilize for an image is one of the most crucial choices a photographer must make. Studio light is created artificially by flashes, strobes, or other sources, whereas natural light is the light that comes from the sun, moon, or stars. Depending on the topic, the atmosphere, the style, and the intended use of the shot, both forms of light offer benefits and drawbacks. The beauty of natural light and the accuracy of studio light in photography will be compared in this article, along with how they might impact the content and quality of the photos.
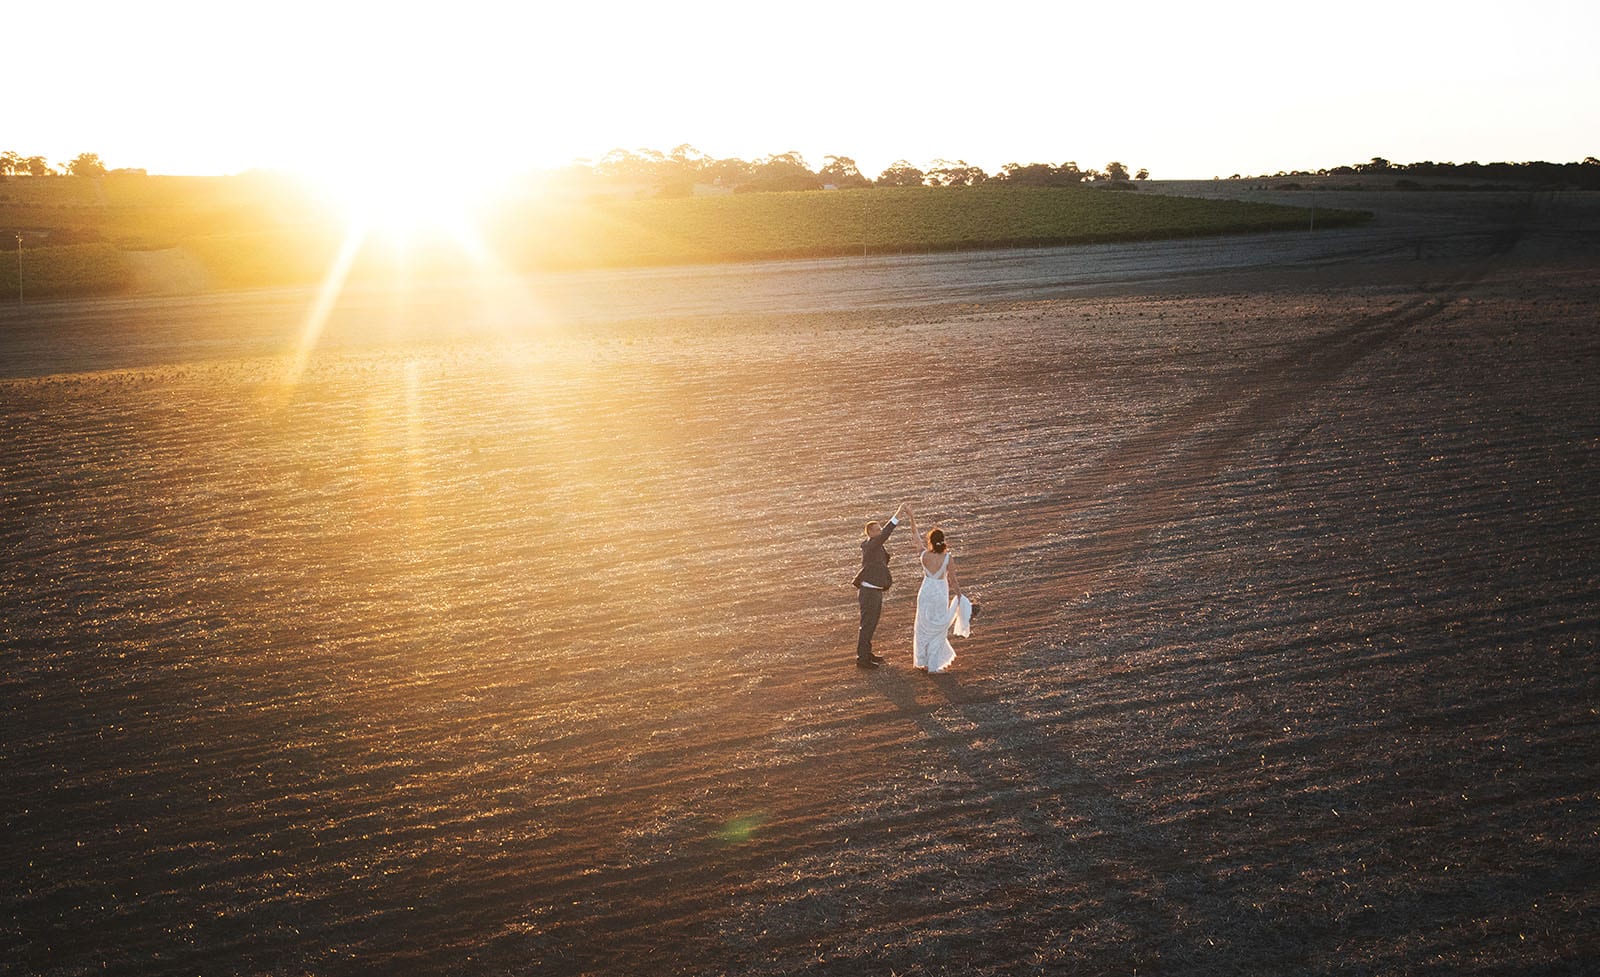
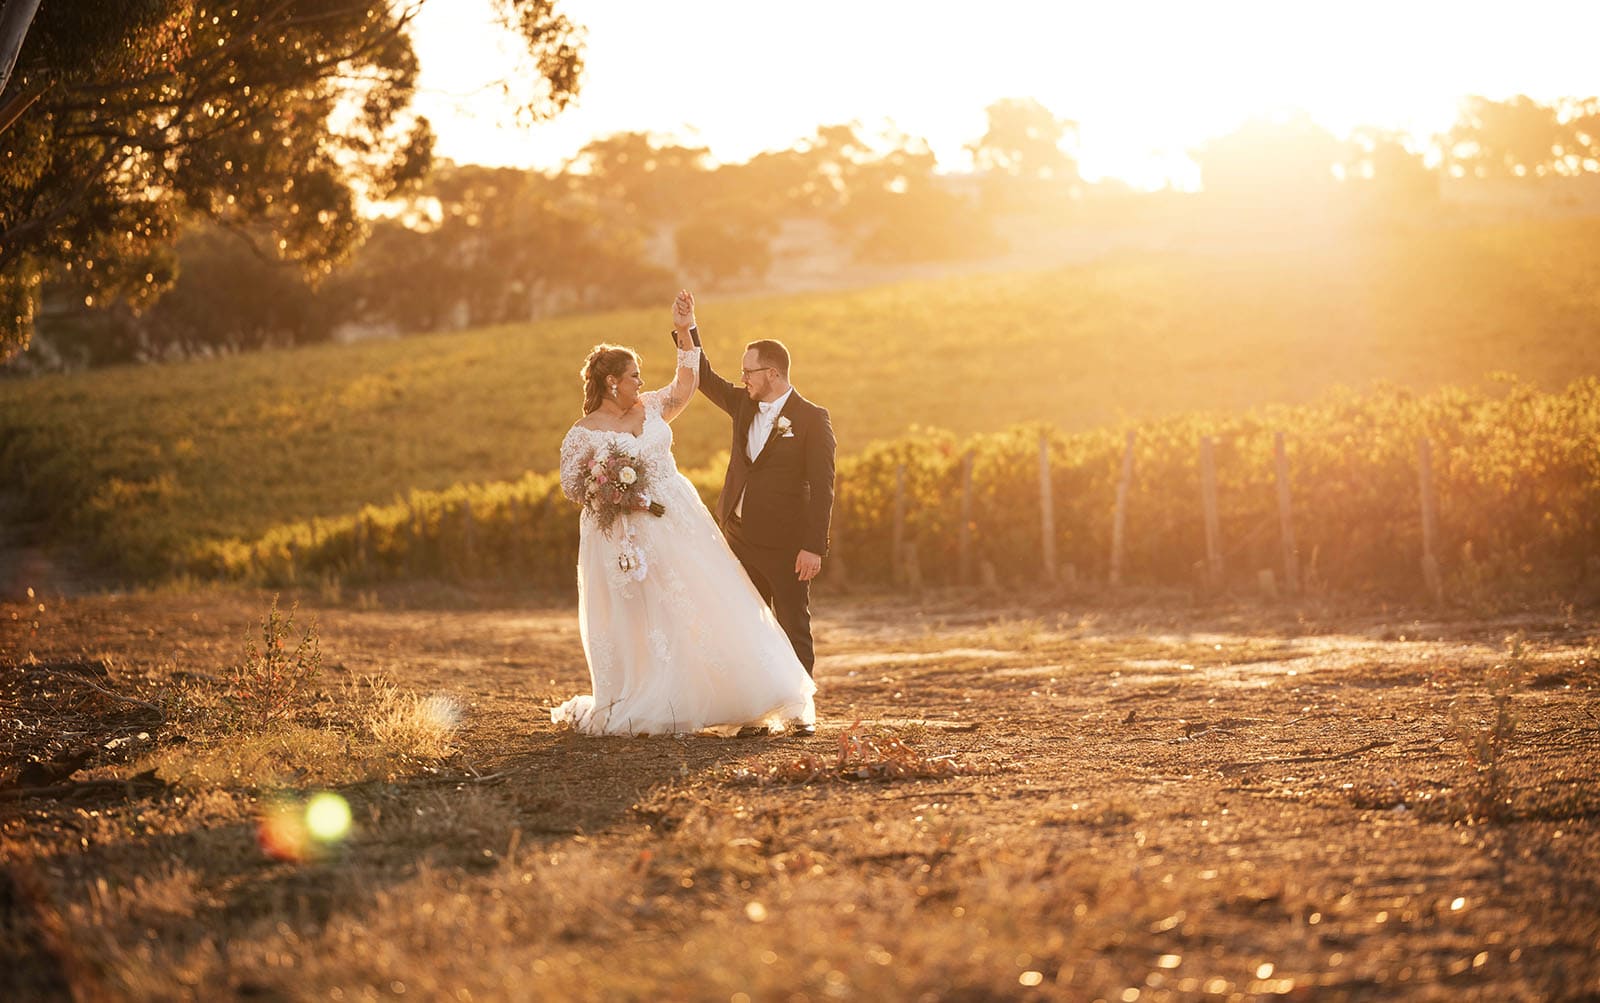
Bride and groom dancing in open field

The Beauty of Natural Light

Natural light is not only the most fundamental and organic light source that can be used in photography, but it also has other advantages like being cost-free, flattering for all skin tones, suitable for adjusting the colour scheme of the photo, usable indoors, quick, and straightforward to set up, allowing flexibility with viewpoints and angles, and being less overwhelming for infants and young children.

In addition to providing illumination, natural light may also serve as a source of inspiration. Natural light offers a distinctive and authentic ambience to a photograph by adjusting the shot’s tone, message, and mood by changing the colour scheme, which can change the emotion and message of the picture.

Additionally, changing the shadows and highlights produced by natural light can change the scene of the shot, altering its depth and dimension and significantly improving its beauty and originality. Therefore, photographers may take spectacular photographs representing their vision and message by knowing how natural light functions and how it can be used creatively. Here is natural light photography guide.

Couple dancing together at sunset

The Precision of Studio Light

In photography, “studio light” refers to artificial light sources employed to illuminate a person or a scene in a regulated setting. These sources can be flash or continuous and have a variety of characteristics, including being soft or hard, warm, or chilly, and direct or diffuse. By offering you more control over the light’s intensity, colour, direction, and form, these light sources can help your photography. Additionally, studio lighting may help you develop your creative talents and achieve reliable, predictable outcomes. Additionally, studio lighting may help you emphasize your subject’s features and facial emotions.

By adjusting several components of light, such as its quality, direction, form, and colour, studio lighting also aids in establishing a precise and regulated environment in your photograph. Studio lighting aids in producing a precise and controlled mood in your image that matches your vision and message by fusing these elements of studio light in various ways.
wedding planning checklist
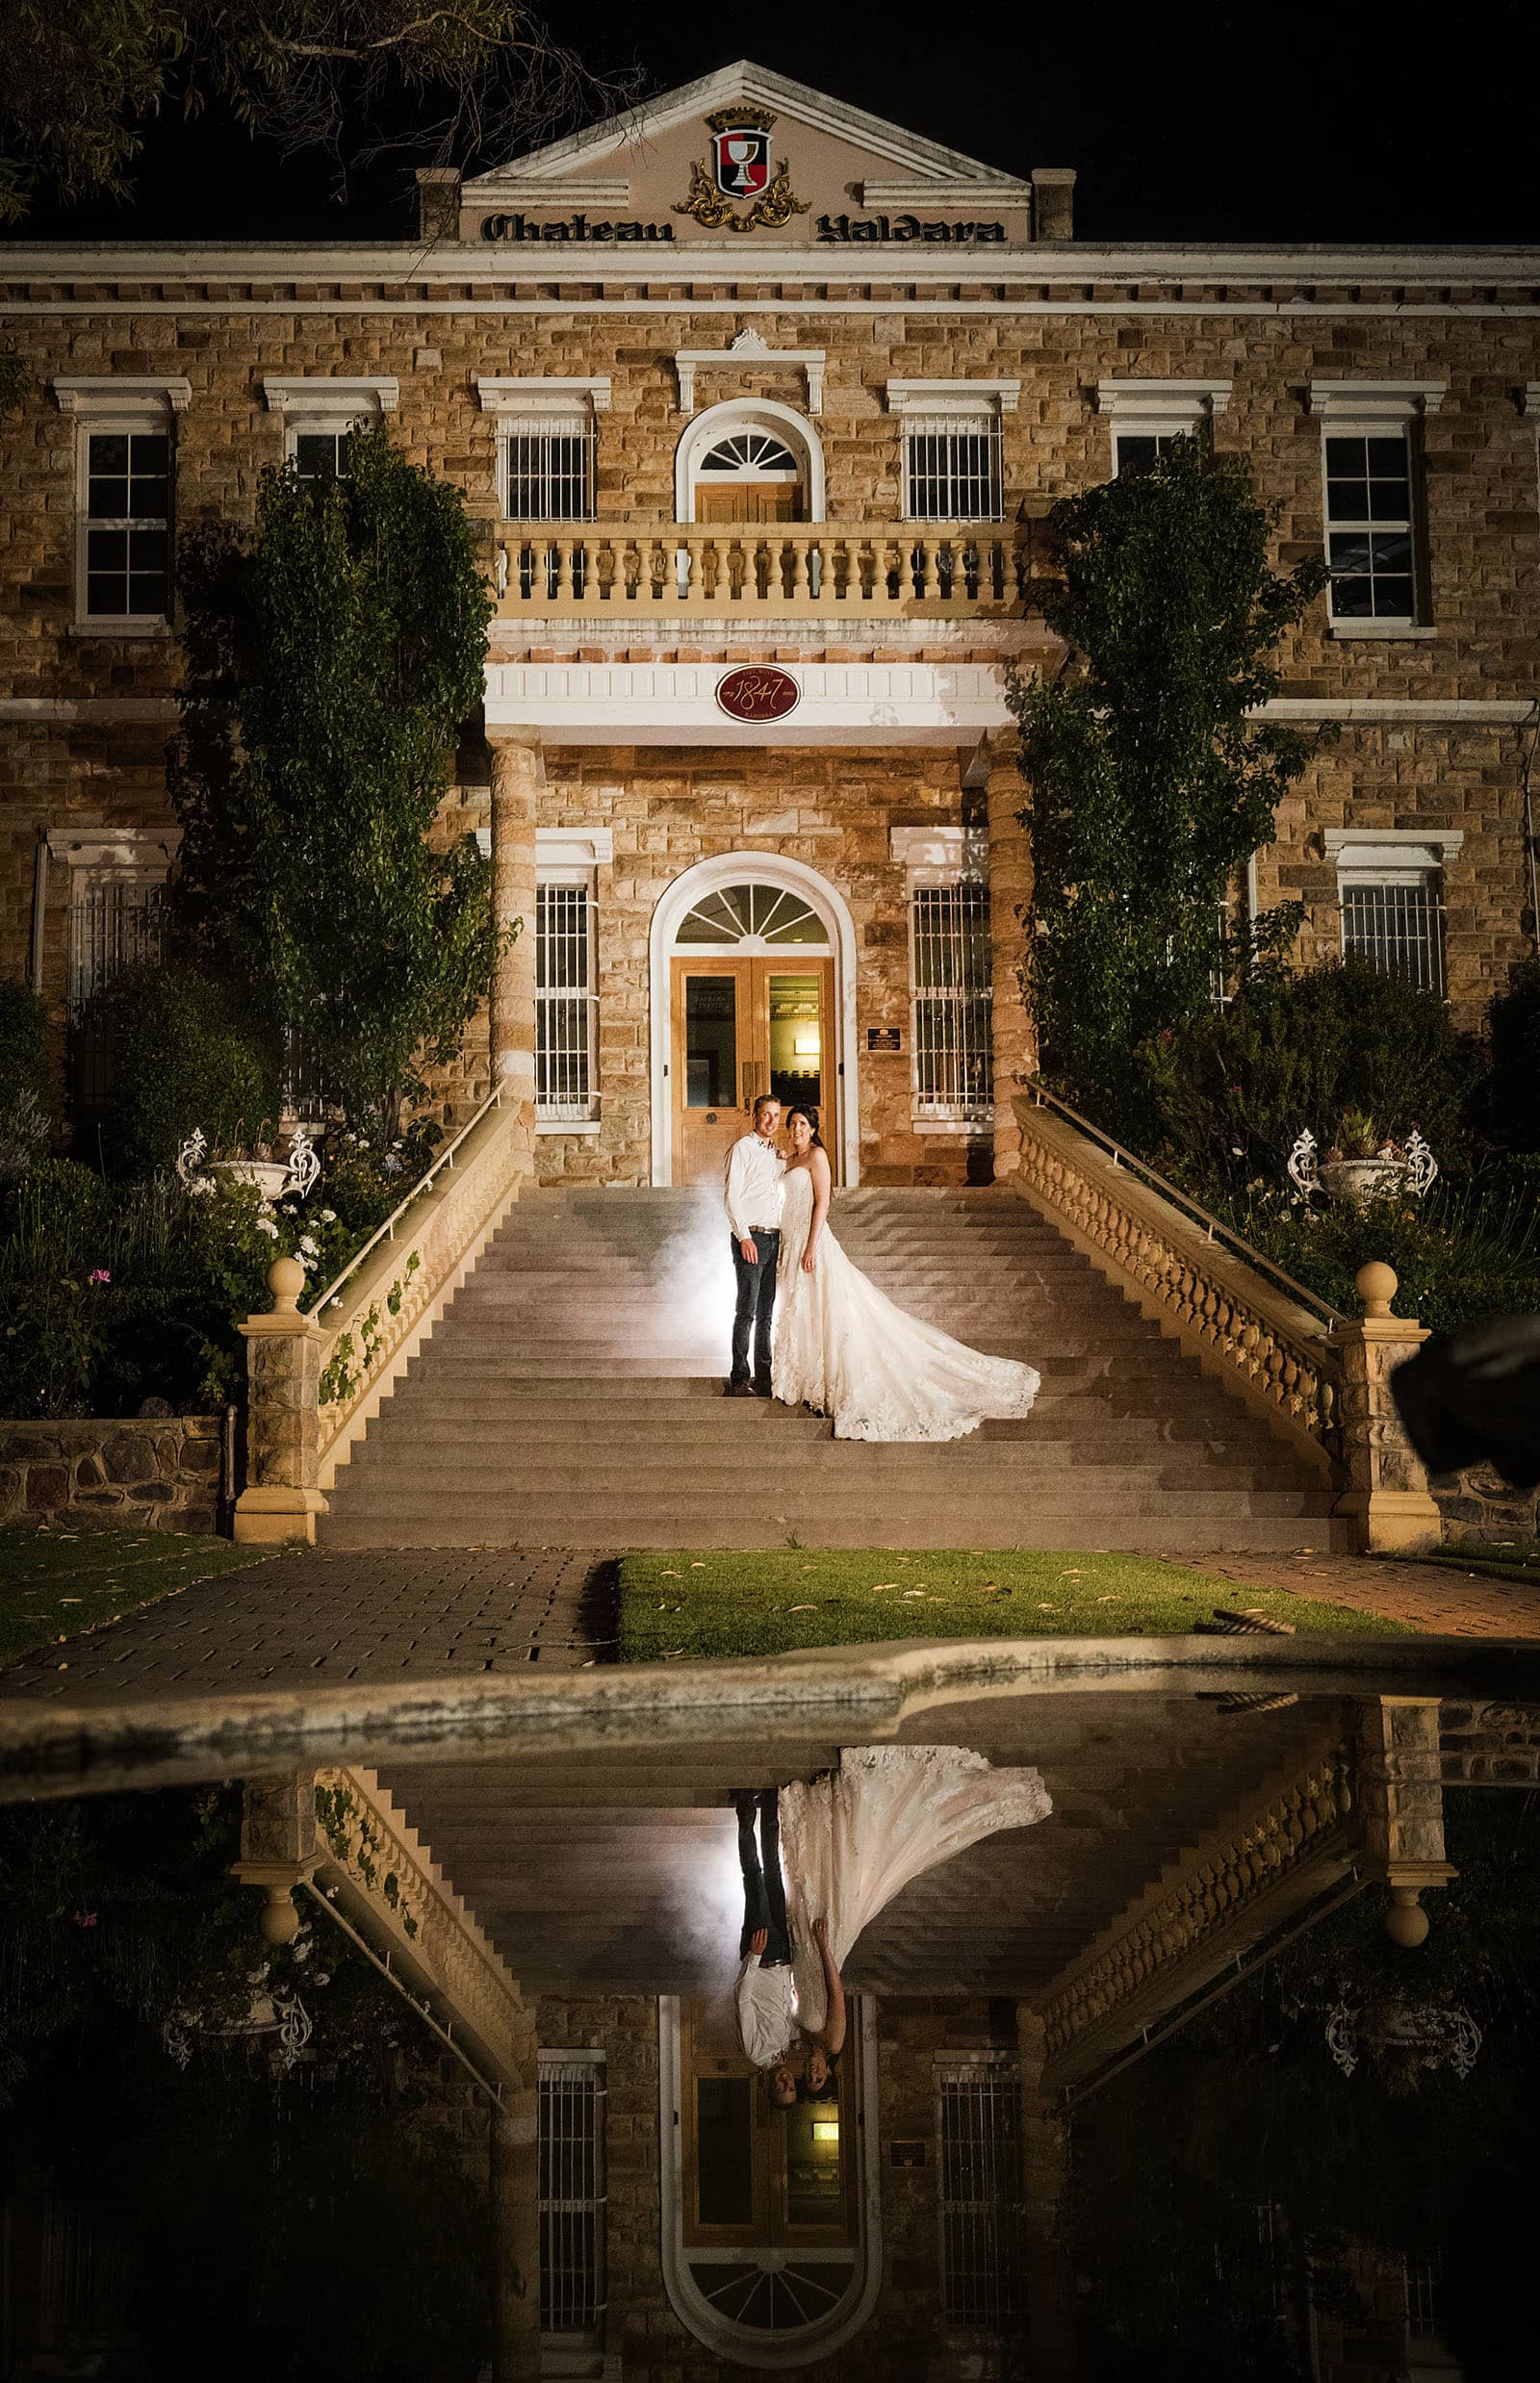
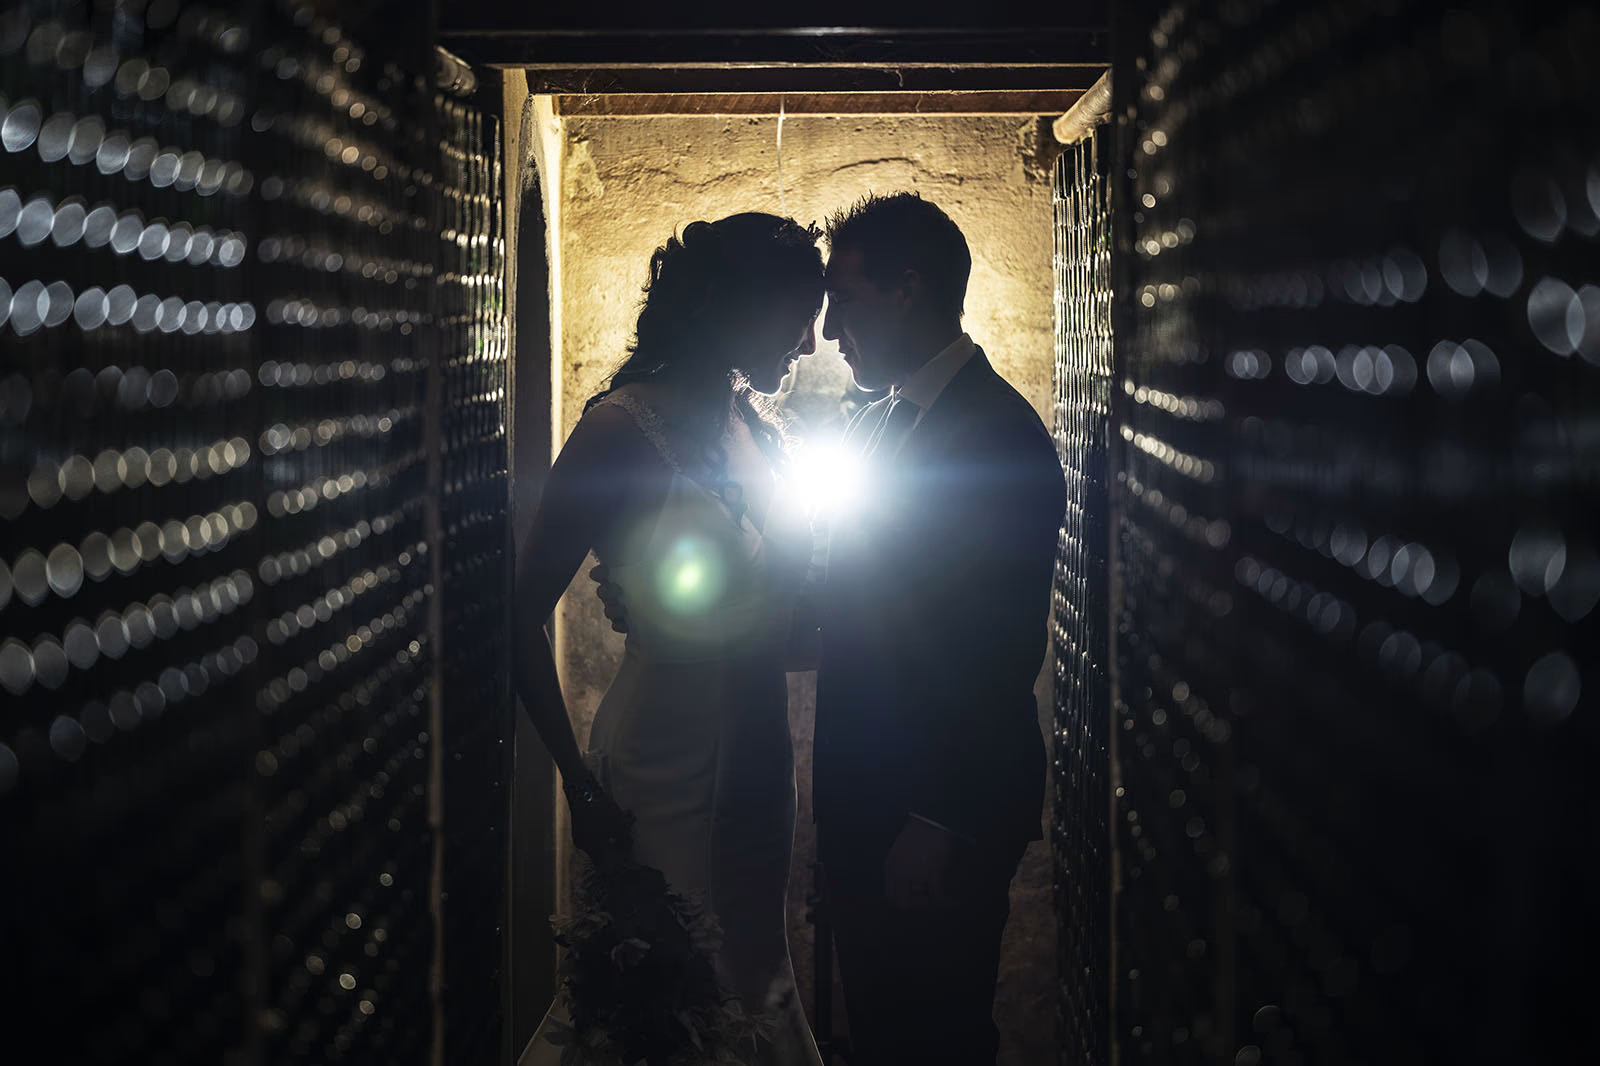
Bride and groom in Chateau Yaldara Bottle Cellar with light

Choosing the Proper Lighting for Your Model

In your shot, lighting may provide a variety of effects and moods, such as soft or harsh, direct, or diffuse, etc. Therefore, choosing the appropriate lighting for your photo based on intended results and moods is a crucial choice since it significantly impacts your photos’ effectiveness and impact.

The topic and the message you want to communicate in the shot will frequently determine the best lighting. For a product or food item, you will need to use bright and sharp lighting that brings out the details and colour of the object, yet you may want to use soft and pleasing light for a picture of a person to accentuate their features and expressions.
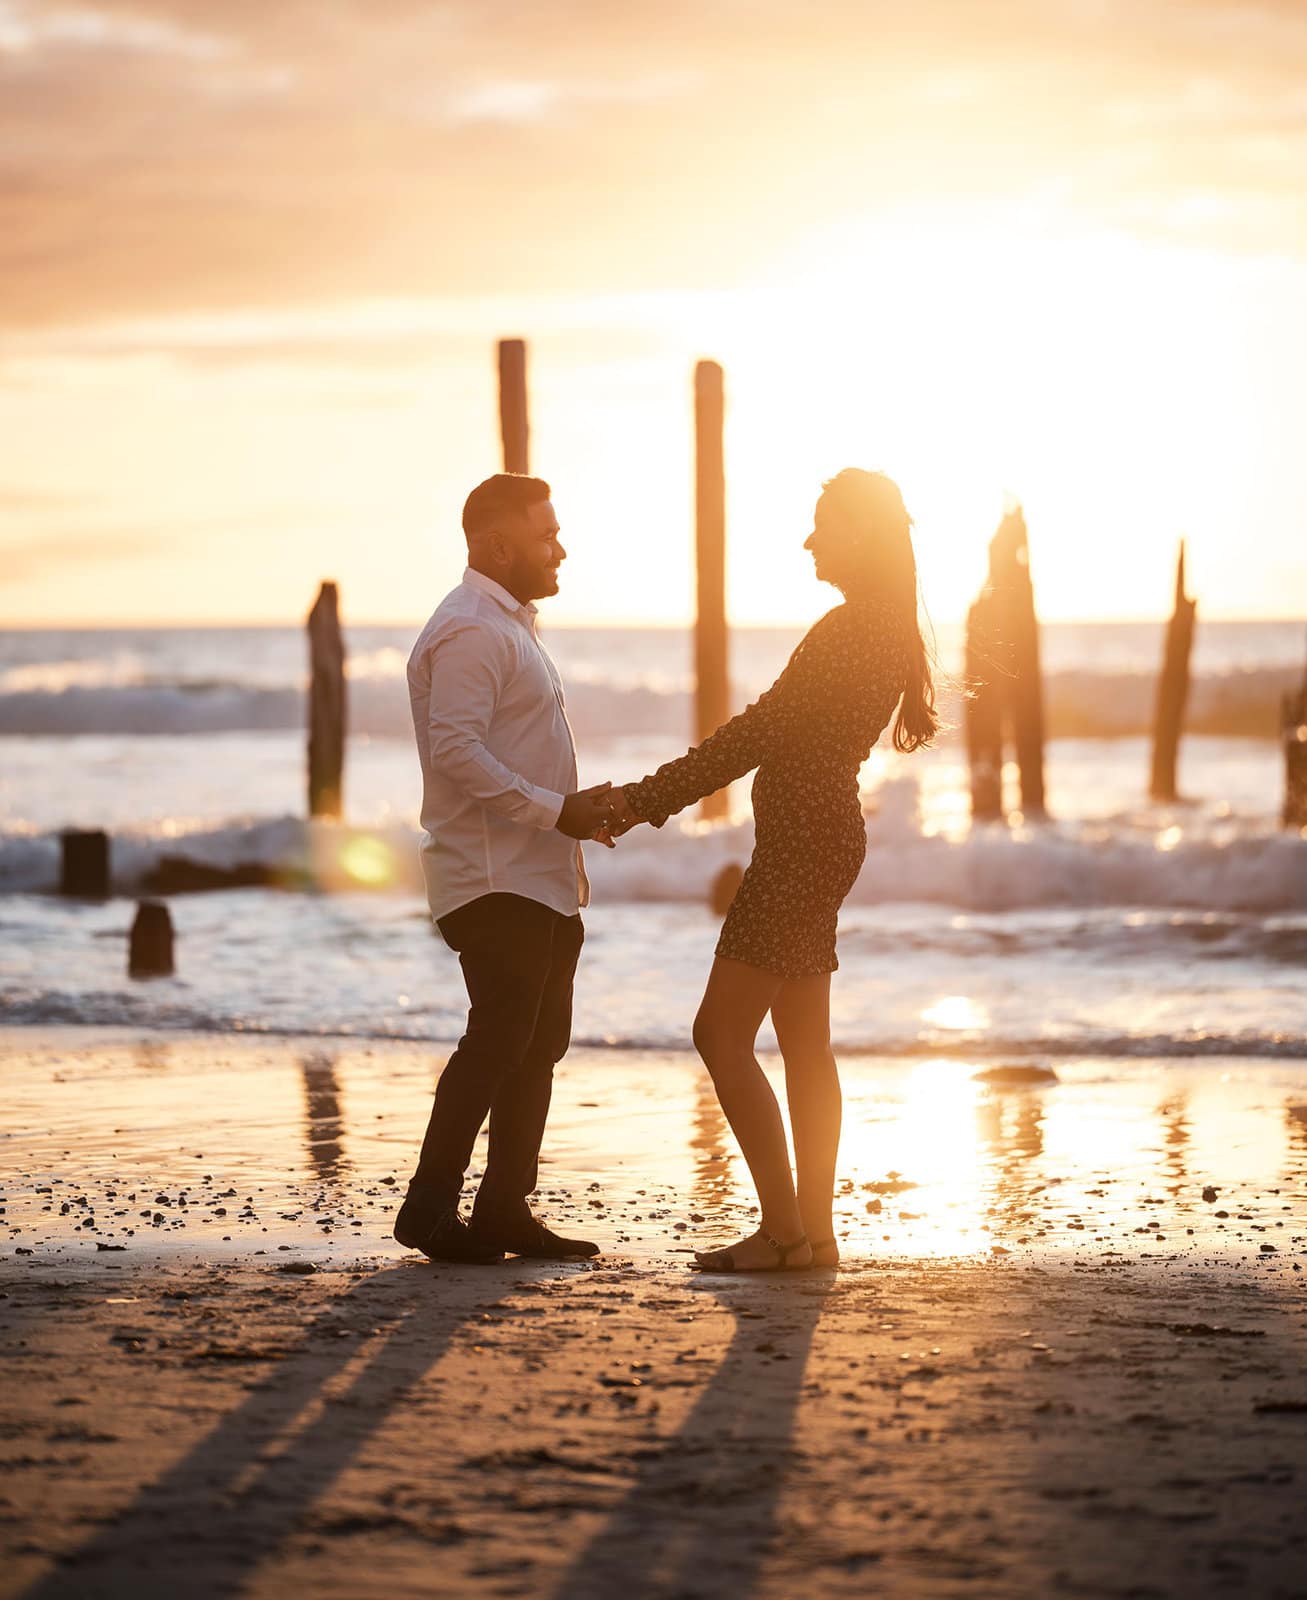
Newly engaged couple walking in sunset

The location and surroundings of the shot, the equipment, and the available funds are additional considerations when choosing the appropriate lighting. When shooting inside, for instance, studio lighting will provide you more control over your illumination. However, while taking photographs outside, the mixed lighting or colour cast from the ambient light or the walls may allow for a more accurate depiction of mood and intended ambience.

You can get the optimal lighting for your project by experimenting with various lighting settings. Additionally, remember that lighting is an aesthetic component of photography and a technical one that aids in expressing your vision and sense of style. For any lighting project, choosing the correct lighting choice may take time. Here are some tips to help you make that decision:

  • Define your audience and goal: Whom are you attempting to communicate with through your project’s graphics, and what is its purpose?
  • Learn more and get inspiration: What comparable or related initiatives have successfully utilized lighting? How did they create the moods and lighting effects? What can you use for your project or learn from them?
  • Plan and experiment: What lighting setup and equipment will you require for your project, and how will you carry it out? How will you address any possible issues or obstacles with lighting? 
  • Assessment and improvement: What type of feedback from yourself or others did you receive on how your lighting worked for your project? How can you advance your lighting knowledge and abilities for future projects?

Working With Natural and Studio Light

When taking pictures, studio and natural light may both be employed to produce stunning and powerful results. However, they also have unique traits and difficulties that require technical know-how to navigate. Here are some pointers on making the most of studio and natural light to produce outstanding photographs with various moods and effects:
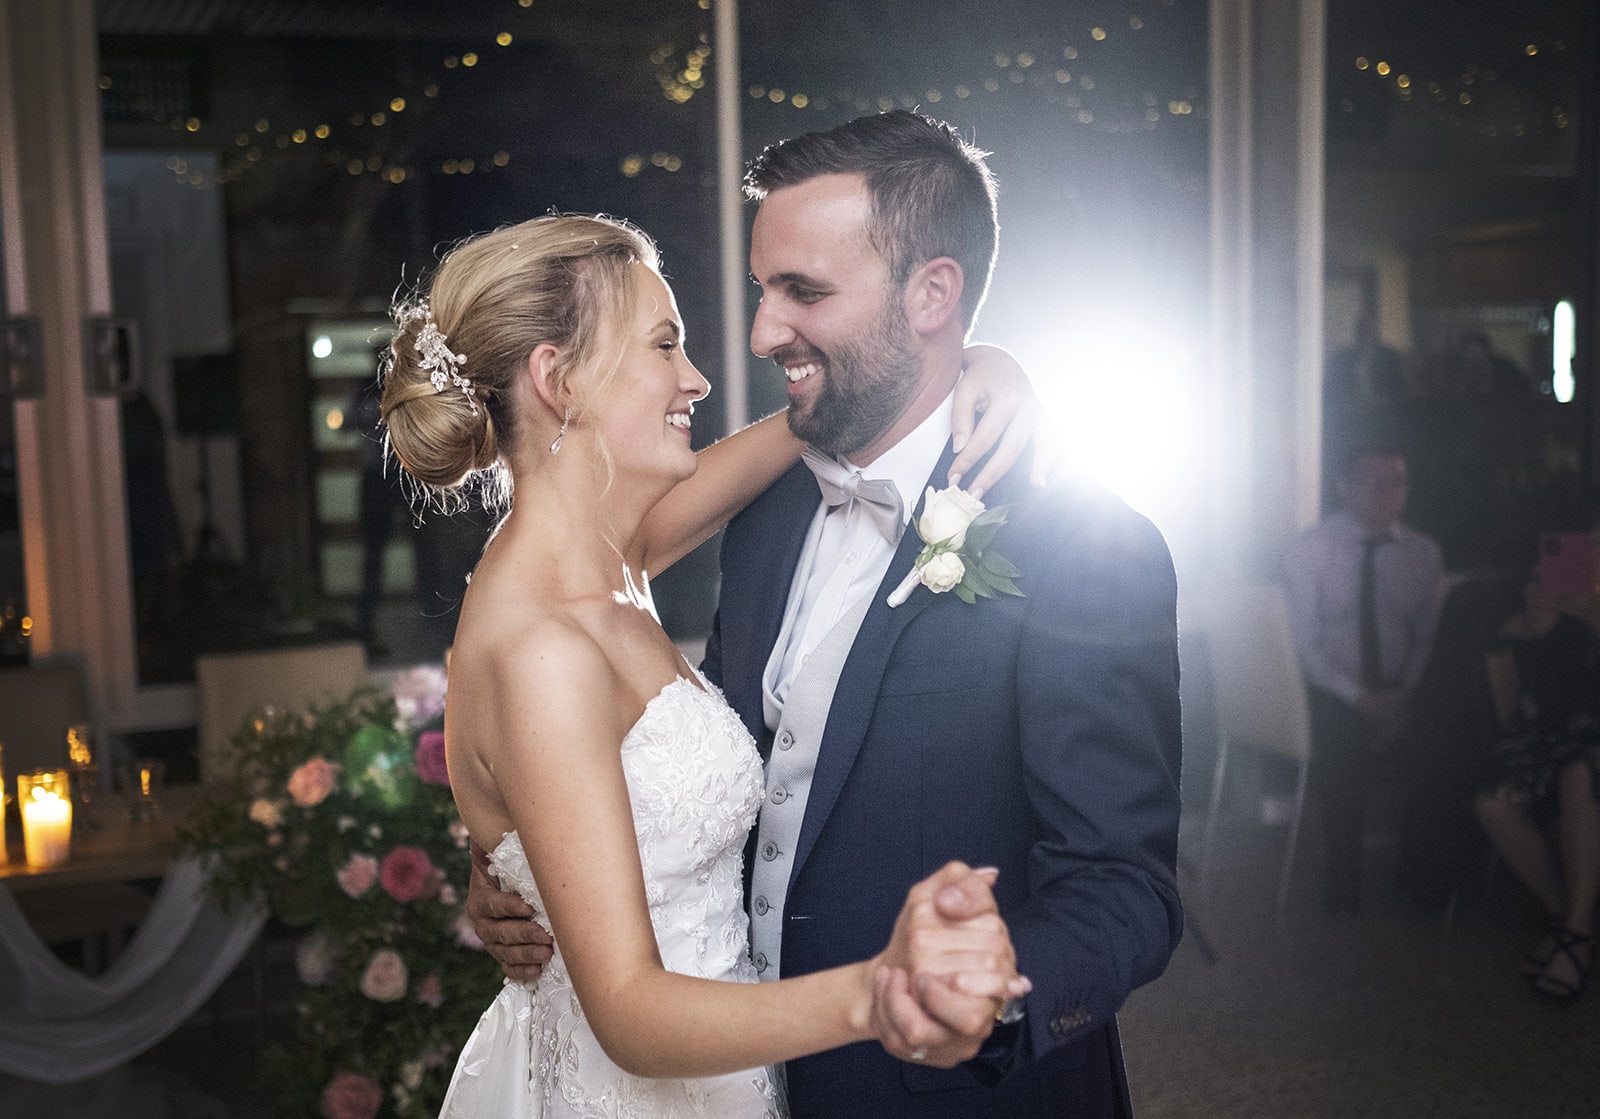
First dance at Ingle wood Inn

For natural lighting

  • Be aware of the golden hours (when the sun is lowest in the sky).
  • Employ a reflector
  • Spread the light
  • Test out the backlighting
Barossa Valley Wedding Photography
Bride and groom dance at sunset

For studio light

  • Understand the many types of studio lighting
  • Understand the nature of studio light
  • Understanding the studio light’s direction
  • Understand the hue of the studio light
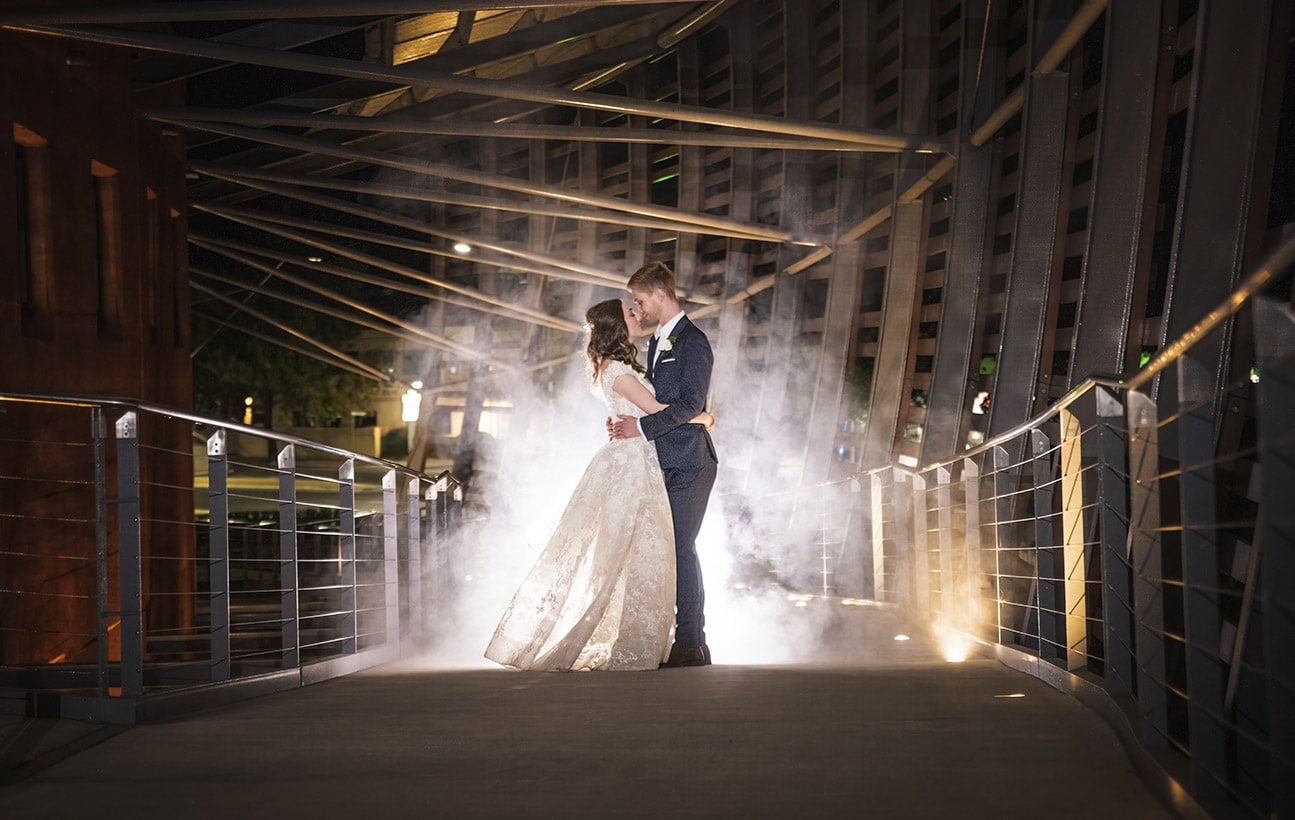
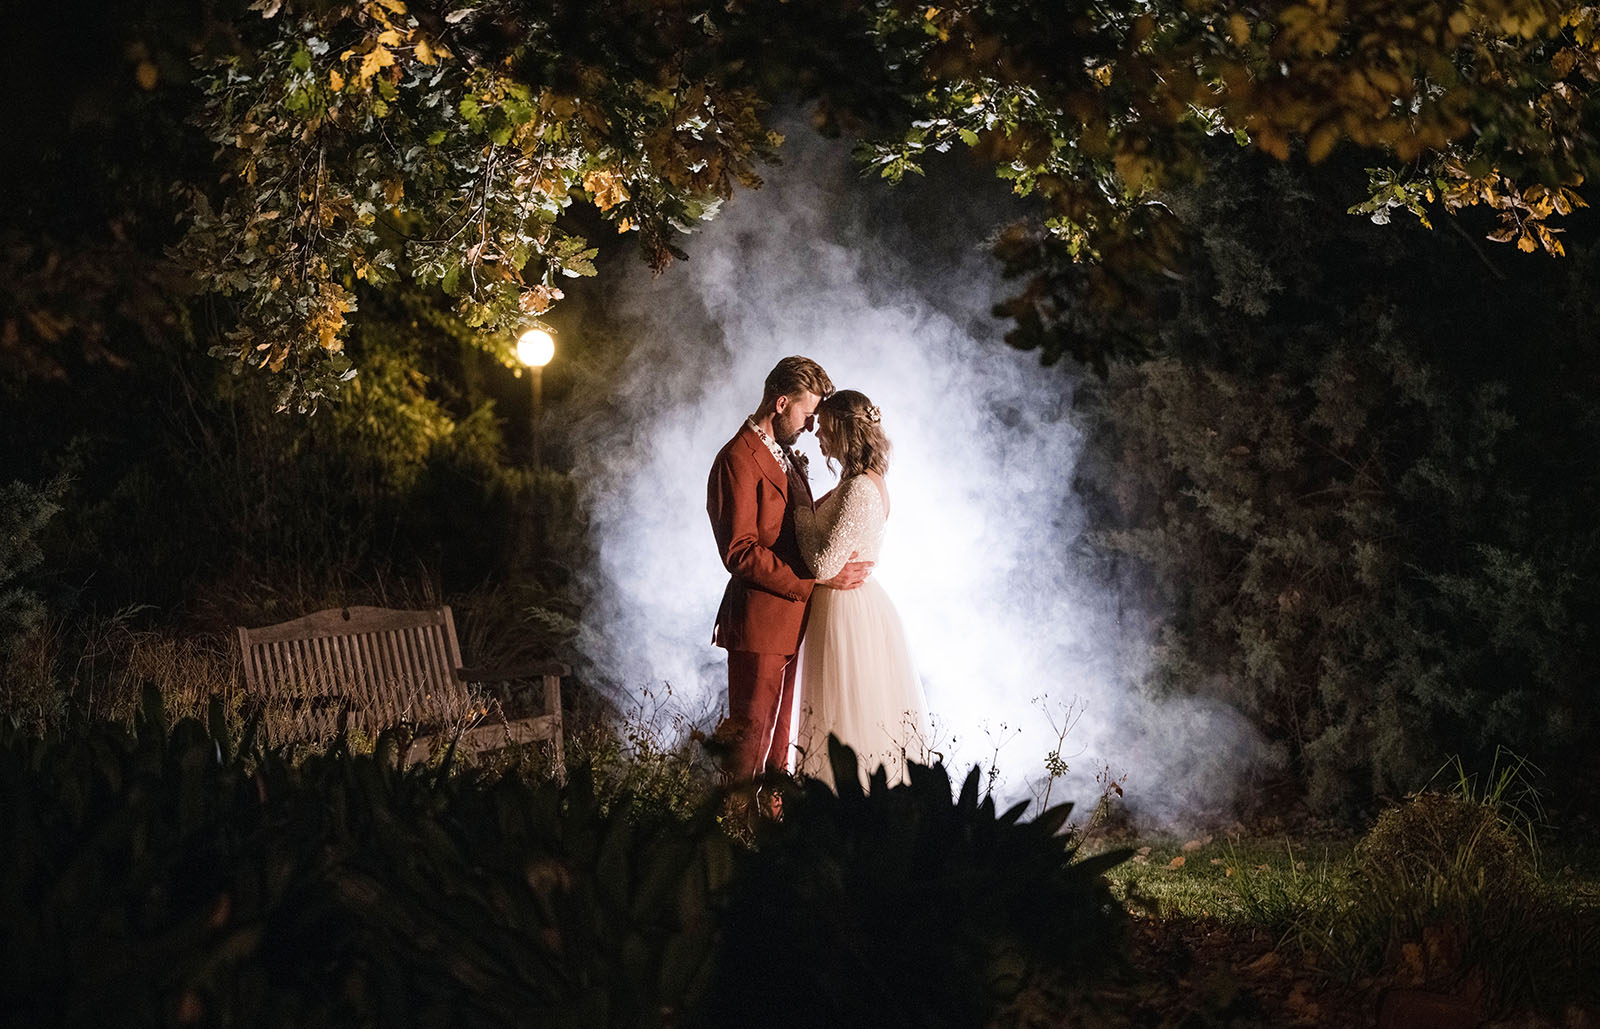
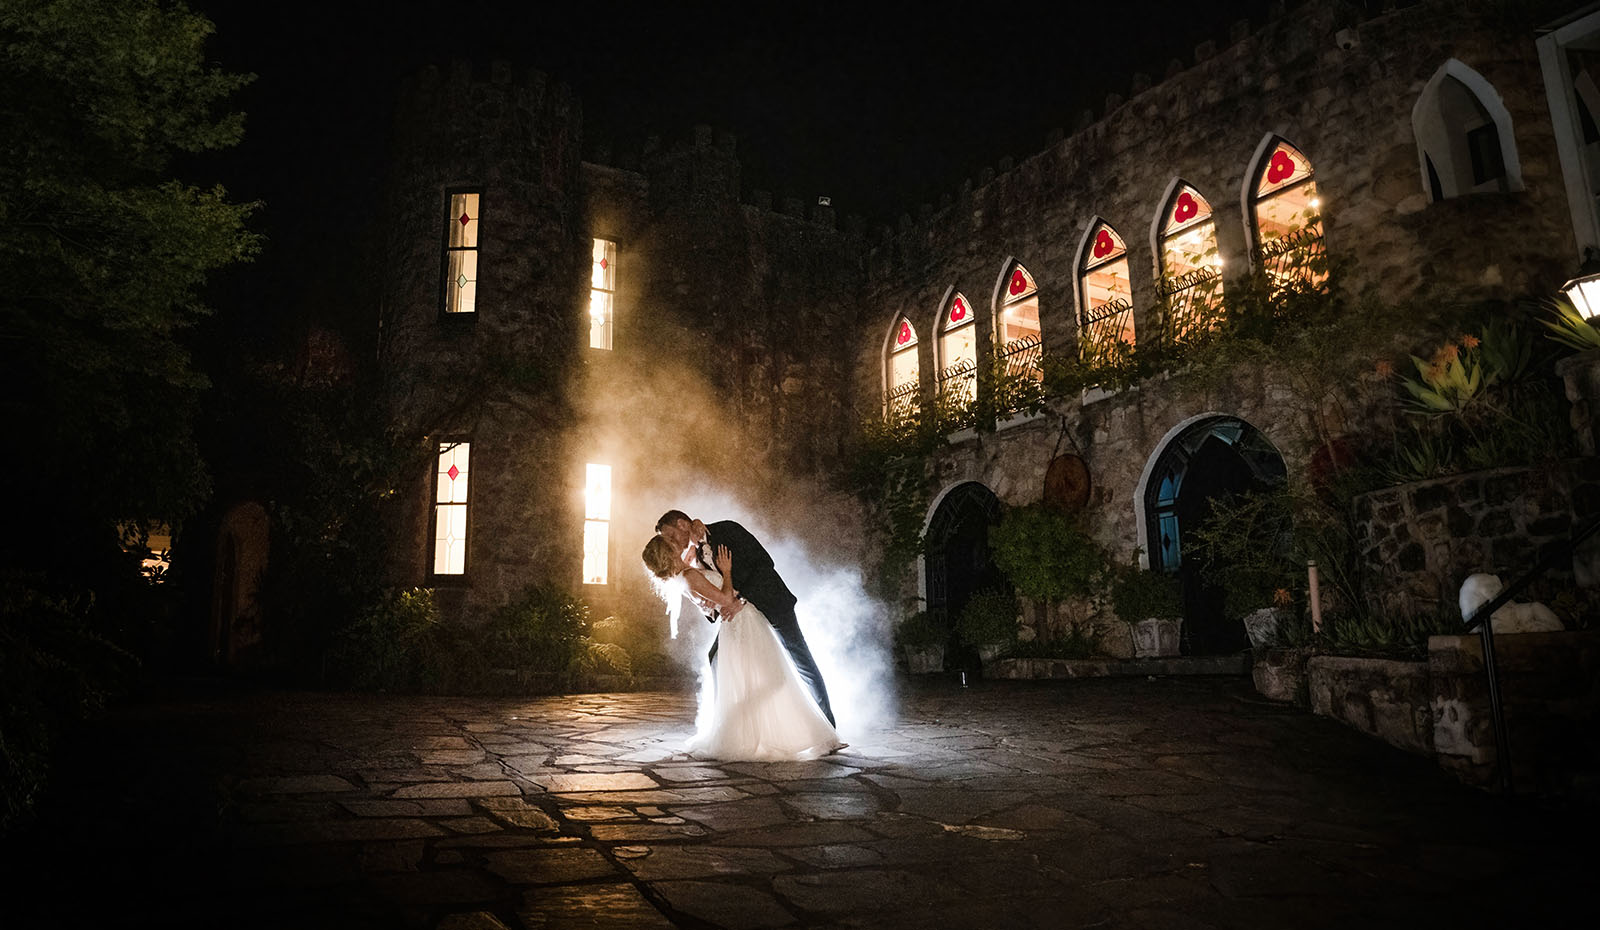
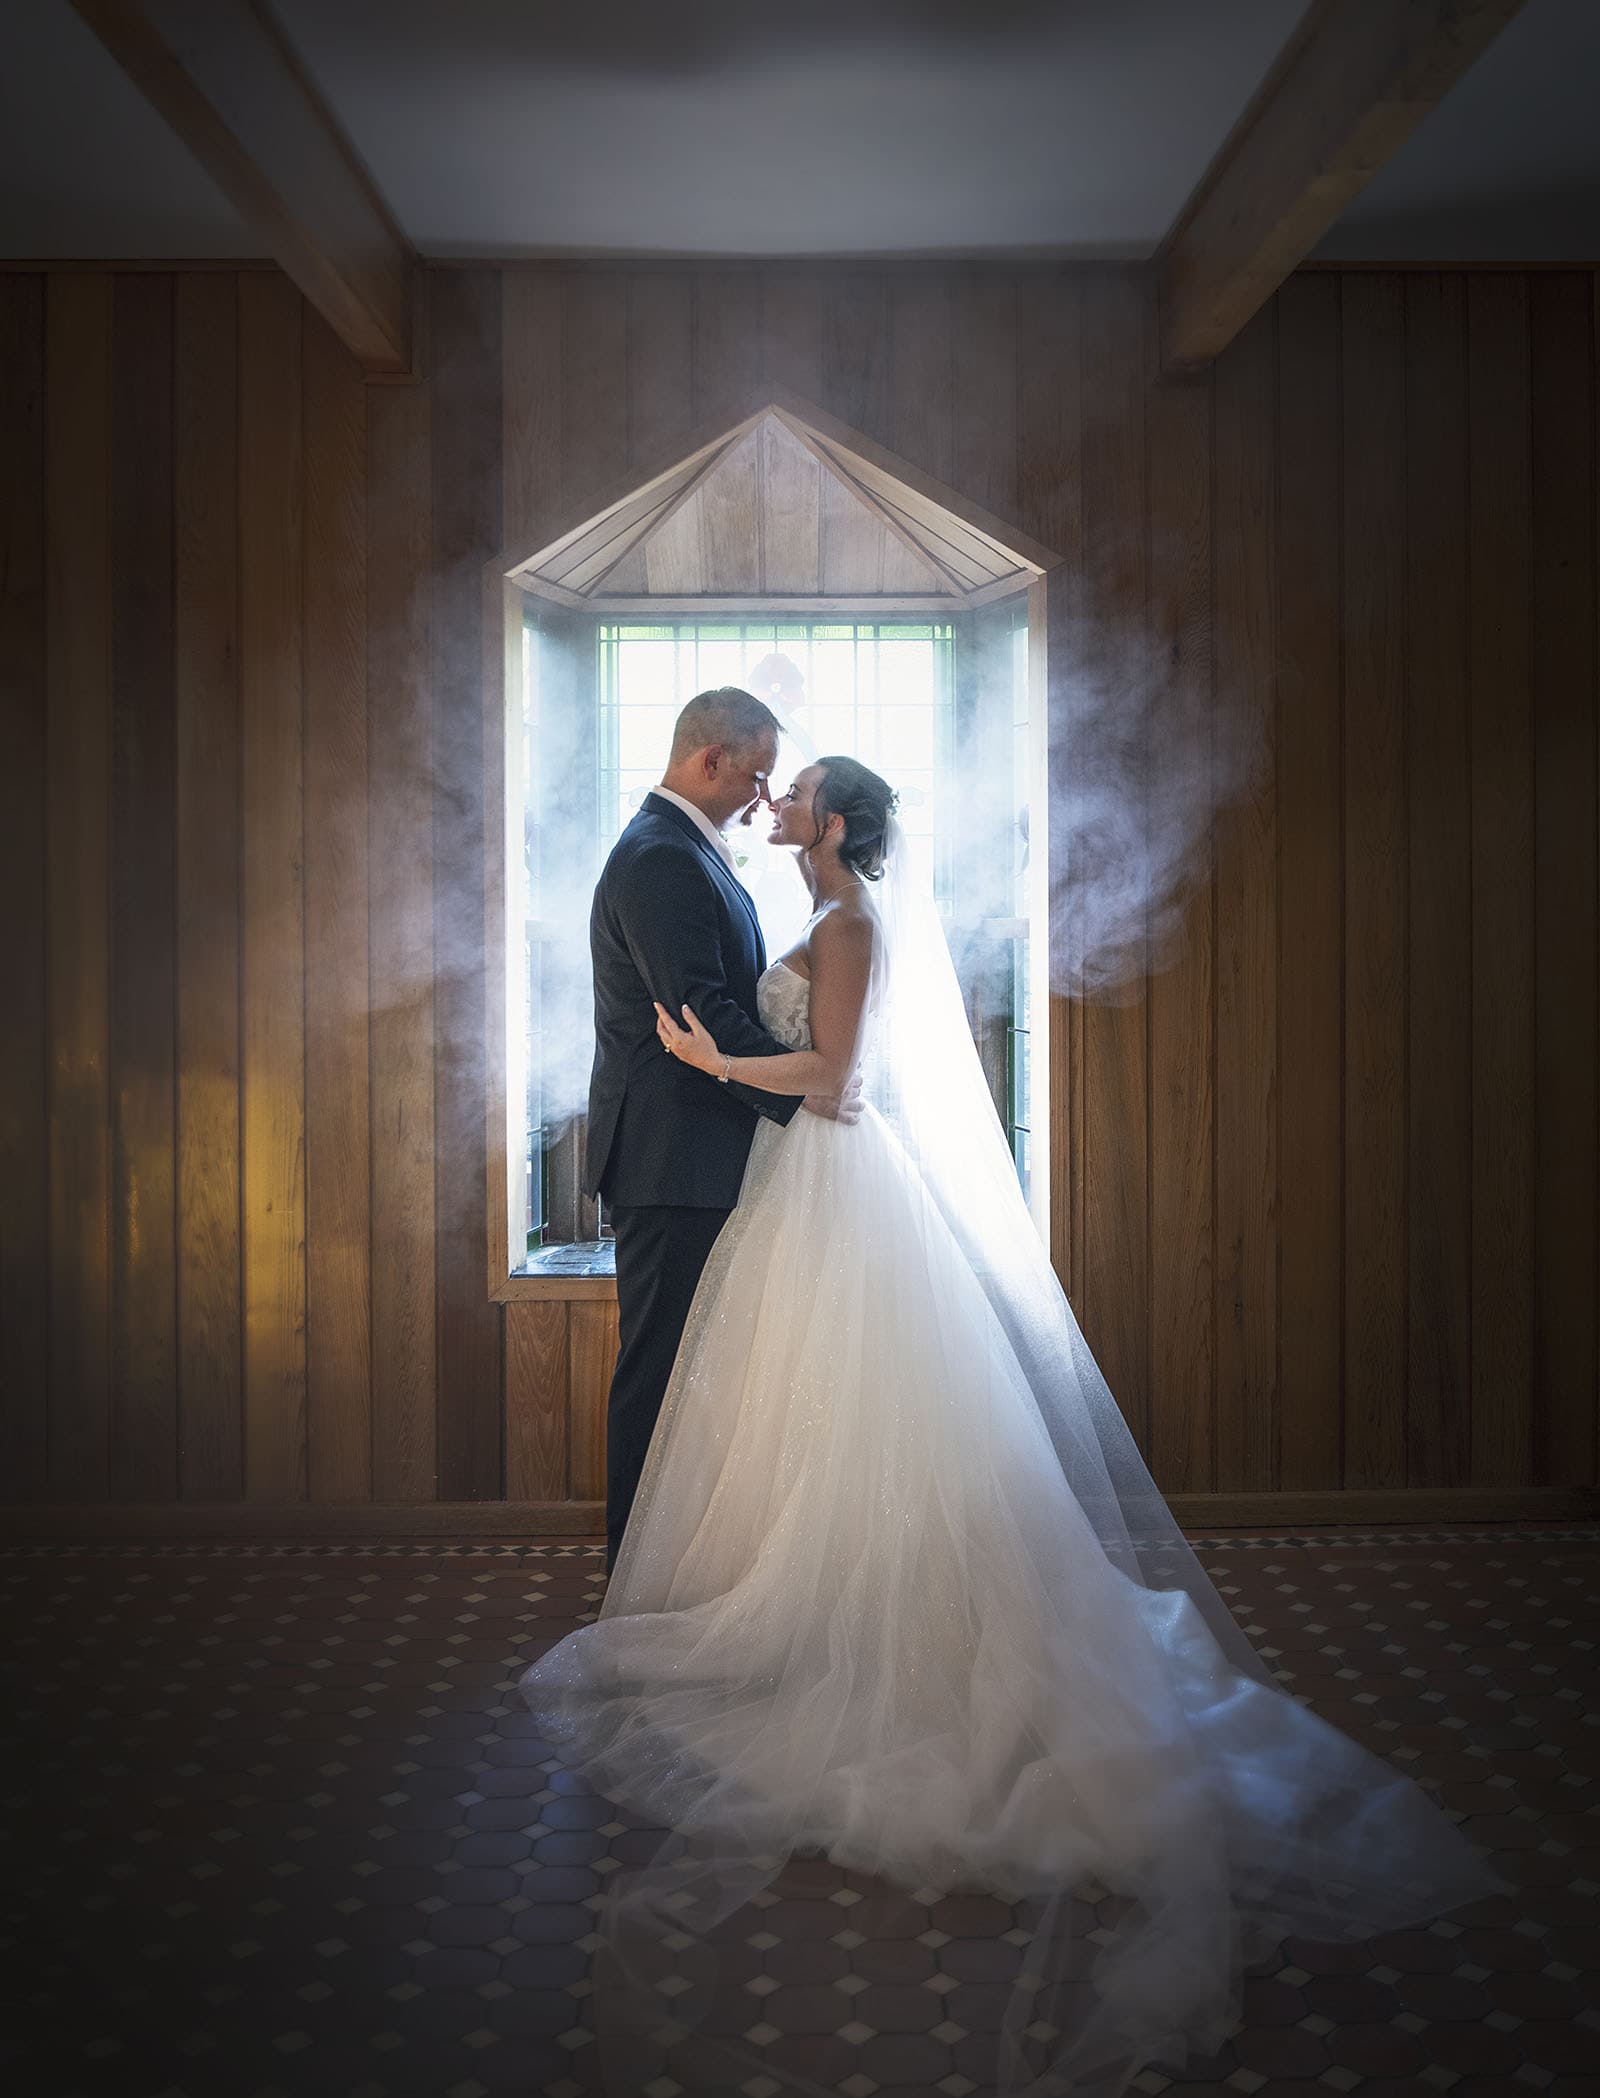
Smokey wedding photo at National Wine Center Wedding

You may occasionally balance and blend natural and studio light to achieve the ideal impact in your photographs. But while mixing and combining natural and studio light can be difficult, it can also be satisfying and inspiring. Here are some pointers to assist you in doing this.

  • Know the source of your leading light: This one gives your subject and scene the most excellent illumination and direction.
  • Understand your backup lighting source: This gives your topic or scene more radiance and contrast.
  • Measure the exposure and match it 
  • Measure and colour match
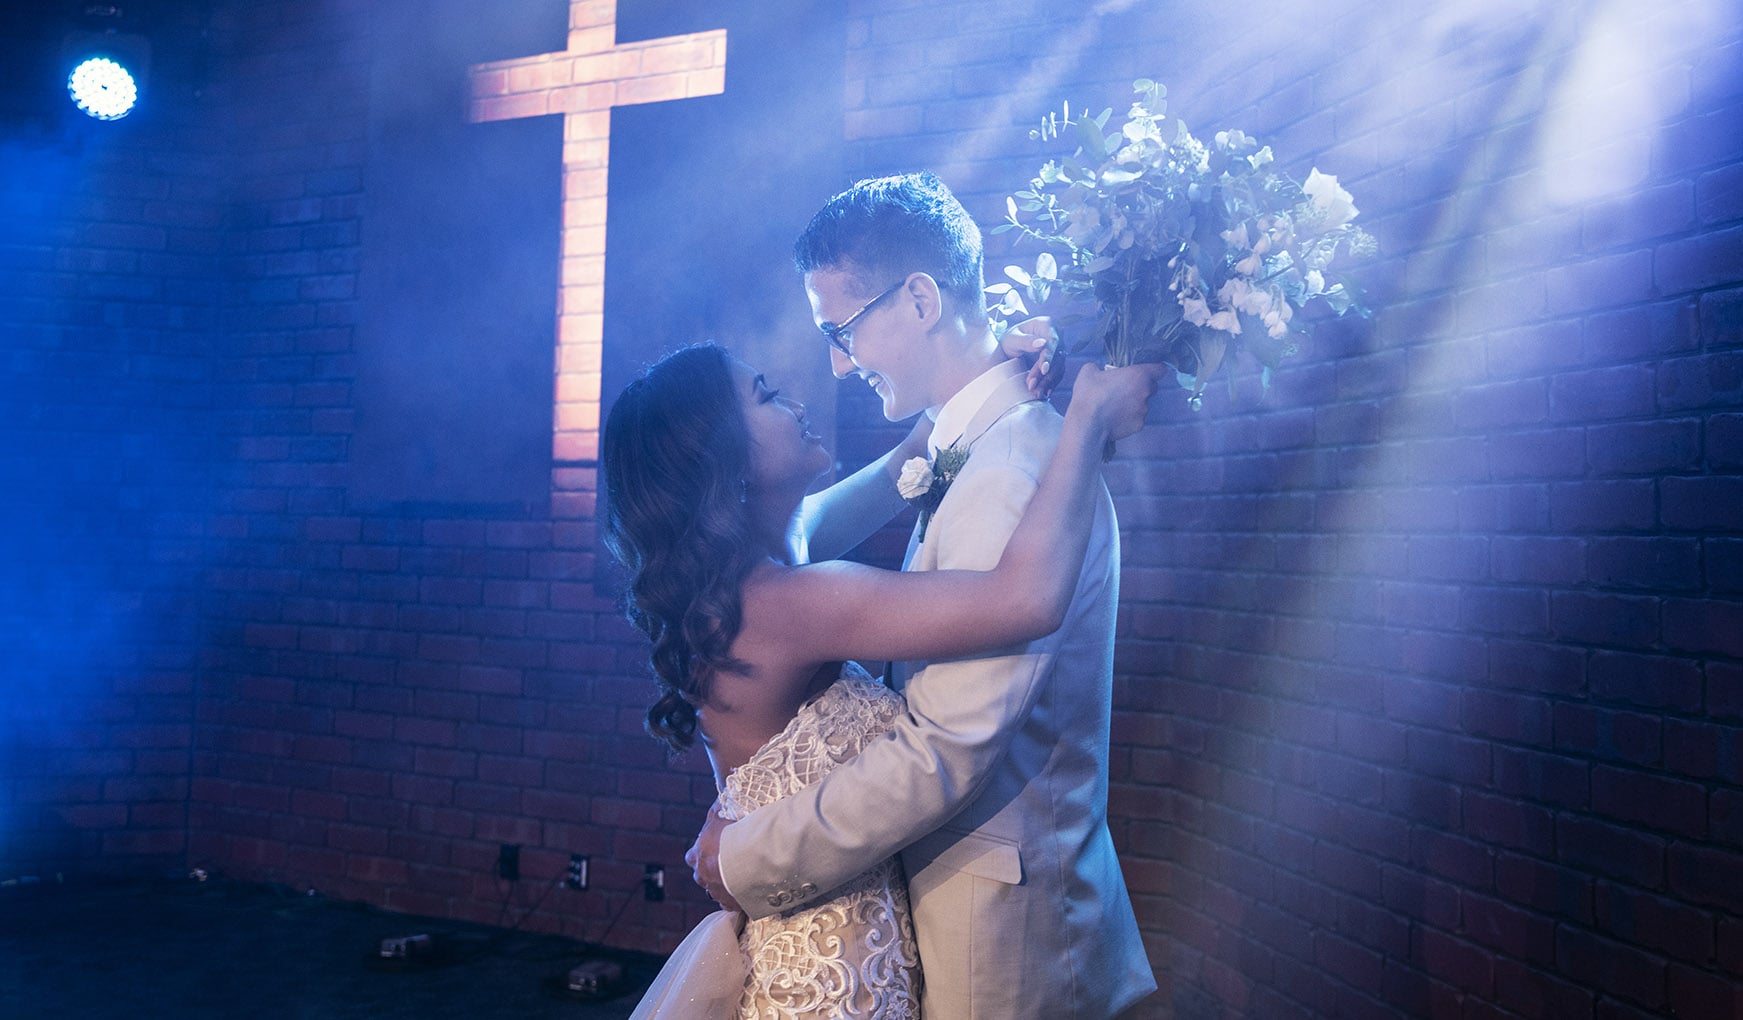
bride and groom under blue lights and smoke

Natural and artificial lighting are valuable and adaptable photographic tools. Although it may appear stunning and realistic, natural light can also be erratic and unpredictable. Their unique traits and difficulties call for working with unique talents and methods. Alternatively, studio lighting may produce a precise and expert appearance but can also be expensive and difficult to use – especially as a wedding photographer!

You may also blend and balance both kinds of light to produce a distinctive and imaginative impression.

Understanding the benefits and drawbacks of both forms of light can help you decide which is ideal for your project and objective. The most crucial element is to use light to express your vision and style, whether natural or studio light, or both.
 

May 5, 2023/by Steven Duncan
Wedding, Interesting, News & Events

Announcing the 2023 Wedding Photo of the year contest!

Every year, I hold a contest for all the married couples whose weddings I covered in the previous year (2022). I request each couple to choose their favorite photo from the wedding photos I took on their big day and nominate it for the ‘SvenStudios 2022 wedding photo of the year’ title. The winning couple receives a $500 voucher to use in their personal cloud-based store to produce and print whatever products they want.

I maintain a hands-off approach with the selection of the images, leaving it entirely to the couples to choose their favorite pictures, even if they differ from my personal selection. I have created a slideshow video of my favorite images from each wedding I covered in 2022, in case anyone is interested.

To encourage more participation, I offer a cash prize of AU$100 to a randomly chosen voter after the voting period ends. To maintain fairness, I have an anti-duplicate detection system in place to deter any cheating or duplicate voting. This year, I am also adding an extra entry to the draw for anyone who shares their vote on social media.

Please note that sharing on social media is not mandatory to submit a vote, as not everyone has social media accounts. However, in past contests, the winning image has been the most voted and shared on social media. Therefore, every individual vote and share counts and goes into the draw to win the cash prize.

So, vote for your favorite photo and share it on Facebook to show your support. Remember, each vote and share is a chance to win the AU$100 cash prize.

Click here to vote and win $100!

Voting opens 25/2/2023

2023 Wedding Photo of the year contest entries

Bianca + Josh
Bianca + Josh
Sandi + Daniel
Sandi + Daniel
Sash + Dan
Sash + Dan

Dayna + Alex
Dayna + Alex
Emma + Stephen
Emma + Stephen
Sonya + Jeff
Sonya + Jeff

Clare + Craig
Clare + Craig
Emma + Nickolai
Emma + Nickolai
Ritamaree + Sydney
Ritamaree + Sydney

Chami + Bryce
Chami + Bryce
Jody + Simon
Jody + Simon
Lauren + Trent
Lauren + Trent

Cassie + Danny
Cassie + Danny
Haley + Jordan
Haley + Jordan
Jesse + Luke
Jesse + Luke

SuzanneKaren
SuzanneKaren

February 20, 2023/by Steven Duncan
Interesting, ideas, Wedding

Wedding Sparkler Exit: A Guide to an Awesome Exit

The wedding sparkler exit is a popular and exciting way for the newlyweds to leave their reception.

As a photographer, adding light from sparklers to the dark is a sure-fire way to spice up your end of the night photos, so we really look forward to it whever a couple says they are planning on hosting a wedding sparkler exit!

However, things can sometimes go wrong. Here are some tips to make sure your exit is picture-perfect and unforgettable.

Wedding Sparkler Exit Tips

Check with Your Venue

It’s important to note that sparkler exits can (or should) only be done outdoors. This is due to fire regulations and smoke alarms. Before planning your exit, check with your venue to ensure it’s possible. Some wedding venues have banned sparkler exits because of safety concerns, so make sure you get the go-ahead before making any plans.

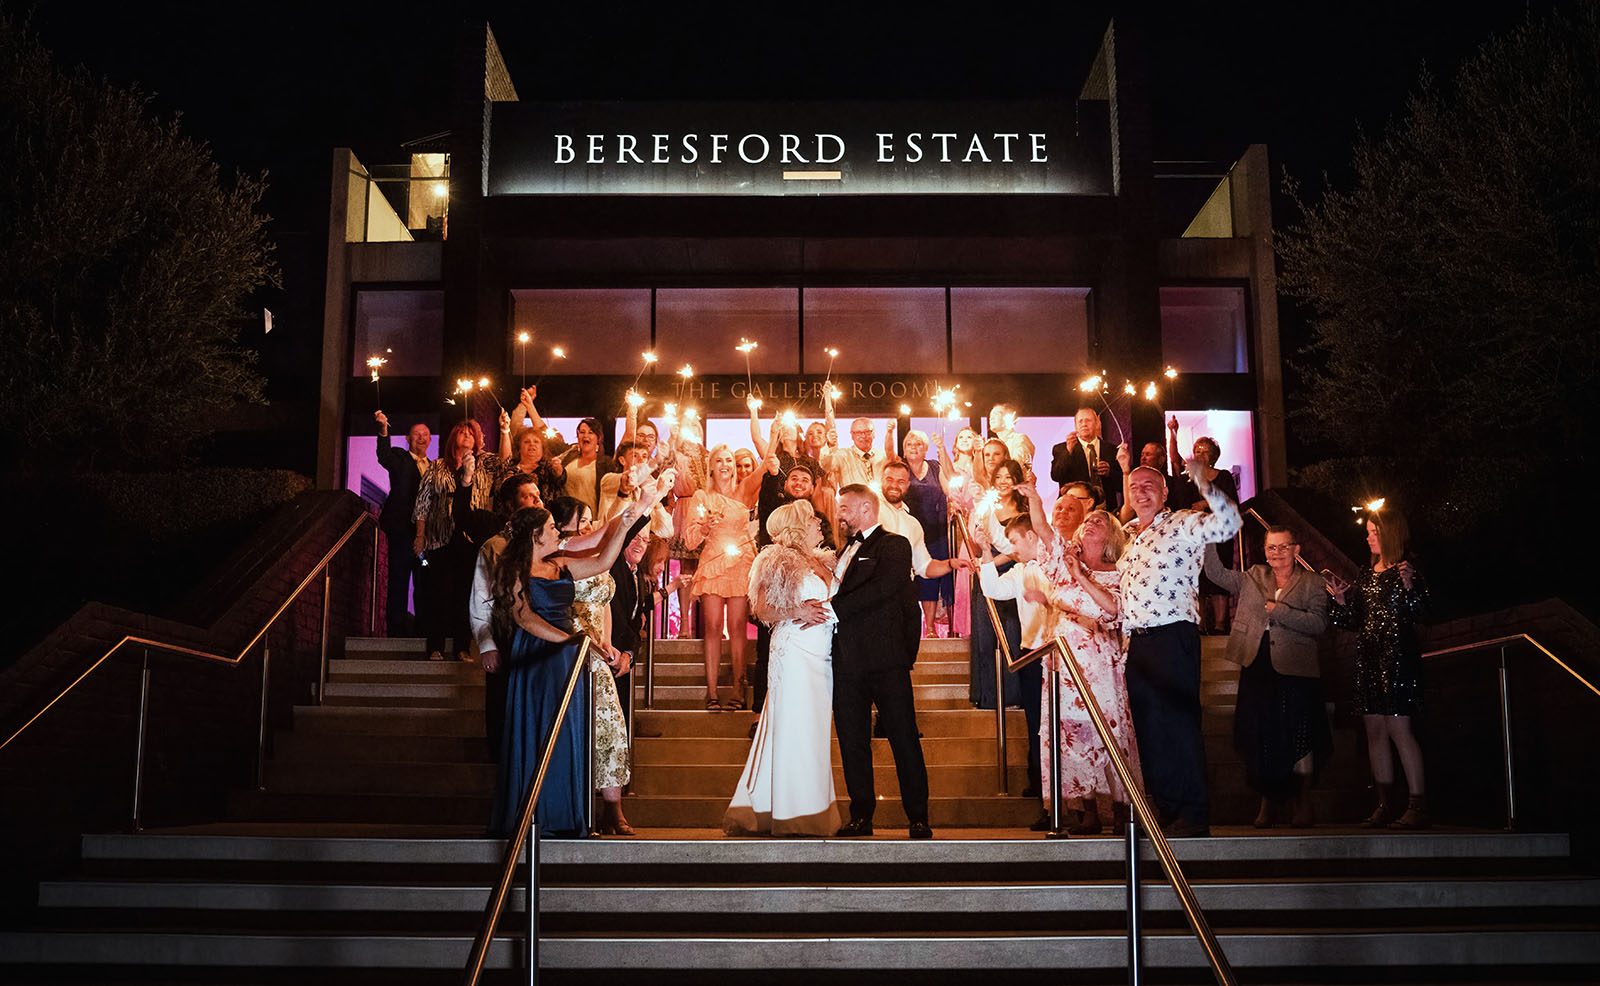
Beresford estate wedding exit

Display the Sparklers

Make sure to have the sparklers on display during the reception so guests can see what’s going to happen. Also, make sure to have a time written down somewhere so everyone knows when the exit is happening. This will prevent guests from leaving early and minimize the need for reassembling everyone.

What I’ve found to be best is to actually stage your exit earlier in the night so that everyone can be involved – not all of your guests are going to stay until you leave at 11:30pm (or later!) This allows for the elderly in your guestlist to join in, and everyone shouldnt be (too) drunk too!

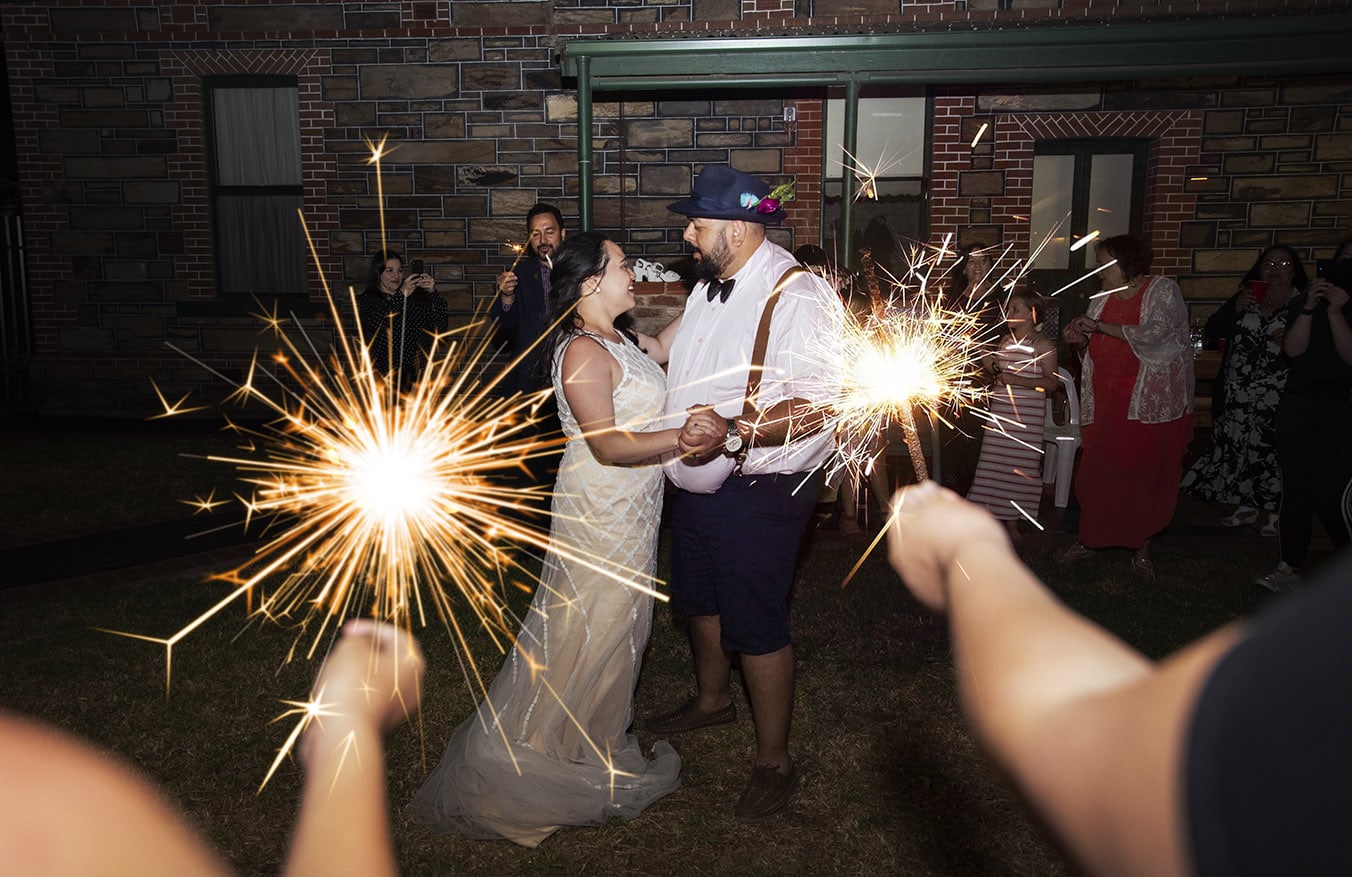
First dance with sparklers

Have Enough Efficient Lighters

Sparklers burn quickly, so make sure to have plenty of lighters available. The more lighters, the faster everyone can be lit and the smoother the exit will be.

The best lighters aren’t just a smoker’s lighter, but rather butane torches that are readily available from Bunnings or any hardware store. These torches last forever, and emit a short, powerful flame that will light sparklers quickly and easily.

Use Long Sparklers

To ensure a successful exit, use long sparklers, not short ones. Long sparklers are sold specifically and marketed for a wedding sparkler exit,. and gives you enough time to get through the guests and make a statement. Short, regular sparklers you would buy from a supermarket burn too quickly and will be out before you’ve even made it past the first few guests.

Have Enough Sparklers for Each Guest

Even if some guests don’t participate, it’s still important to have enough sparklers for everyone – and I’m sure some of the more boisterous amongst your guets would be keen on having more than one! Younger guests may take a couple of sparklers and light them early, so having a full number of sparklers will ensure that everyone has one.

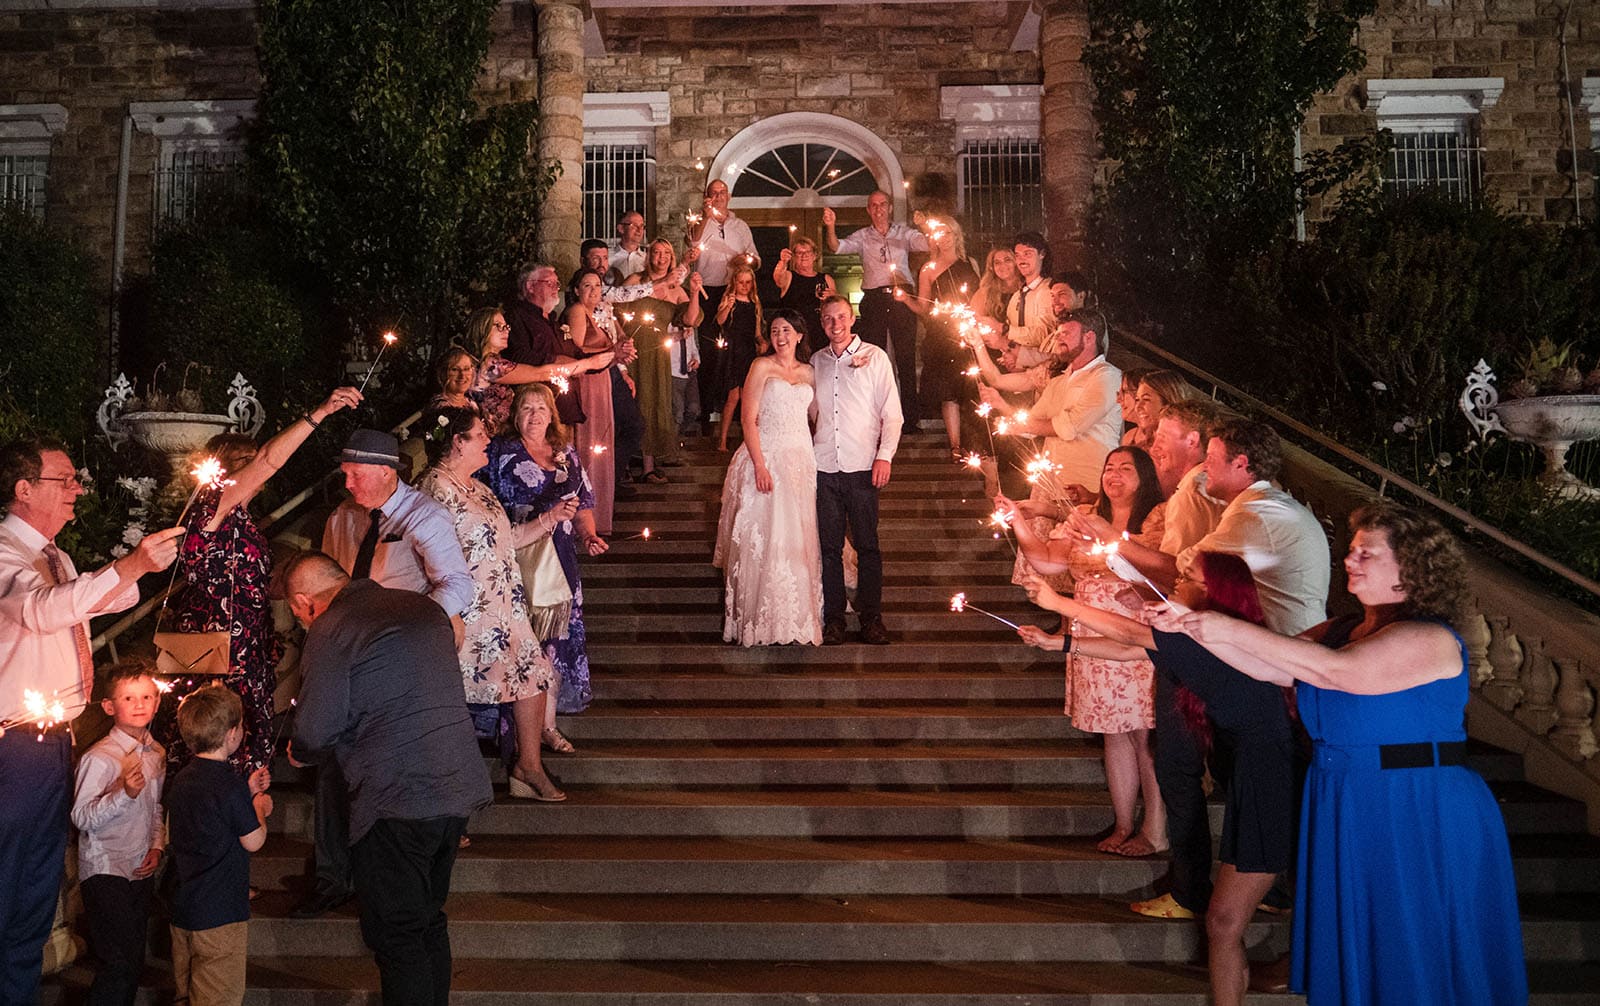
Sparkler exit at Chateau yaladara wedding

Make an Announcement and be ready!

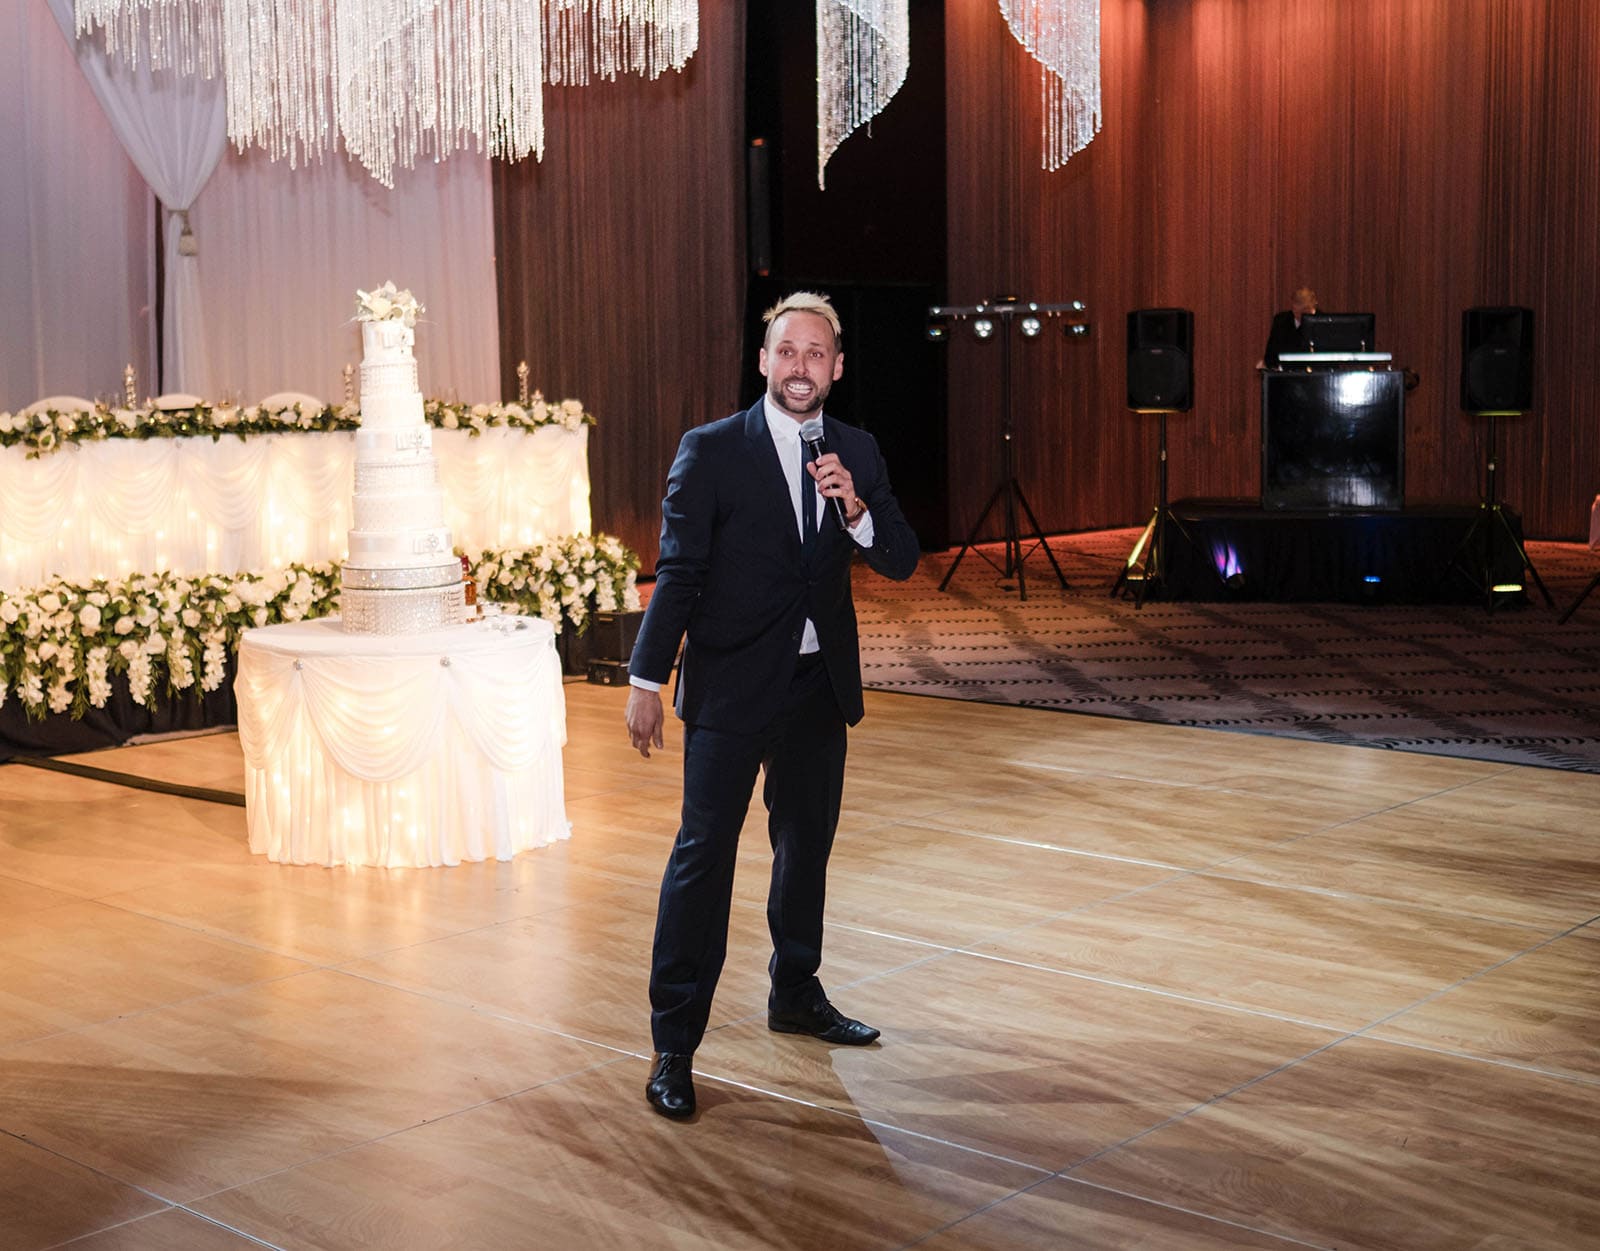
Your MC should take charge of organizing the exit and instructing guests. They should make an announcement reminding everyone to form two lines and wait until everyone is outside to light the sparklers. This will prevent half the guests from lighting the sparklers immediately and having them burn out before the exit line is formed.

Make sure the couple is ready to leave before lighting the sparklers. Say your goodbyes to your family first and then light the sparklers. Avoid getting stuck talking to relatives or friends as this will result in a tunnel of smoke. This is another reason why you might opt to mock exit earlier in the night.

MC doing his thing on dancefloor

Create a Wide Tunnel

Instruct guests to hold the sparklers up high and have a wide enough tunnel for the couple to walk down. Walking down a path of fire and sparks is dangerous, especially if the bride is wearing a flammable dress and has a lot of hair spray. A wide gap will ensure everyone’s safety.

Be Safe and don’t run!

Don’t light a bunch of sparklers together. Doing so can cause a mini explosion and embers can fly everywhere, potentially burning someone. Also, your time walking through the tunnel. It’s better to walk, stop for a kiss, say goodbye to friends, and look at each other. Running will make the moment feel over too quickly, and running around flames isn’t smart!

It’s also smart to organise multiple buckets of water, and have the venue spread them out where you’re plannig on doing your exit – that way no random sparks from otherise dead sparklers won’t get anyone into any trouble.

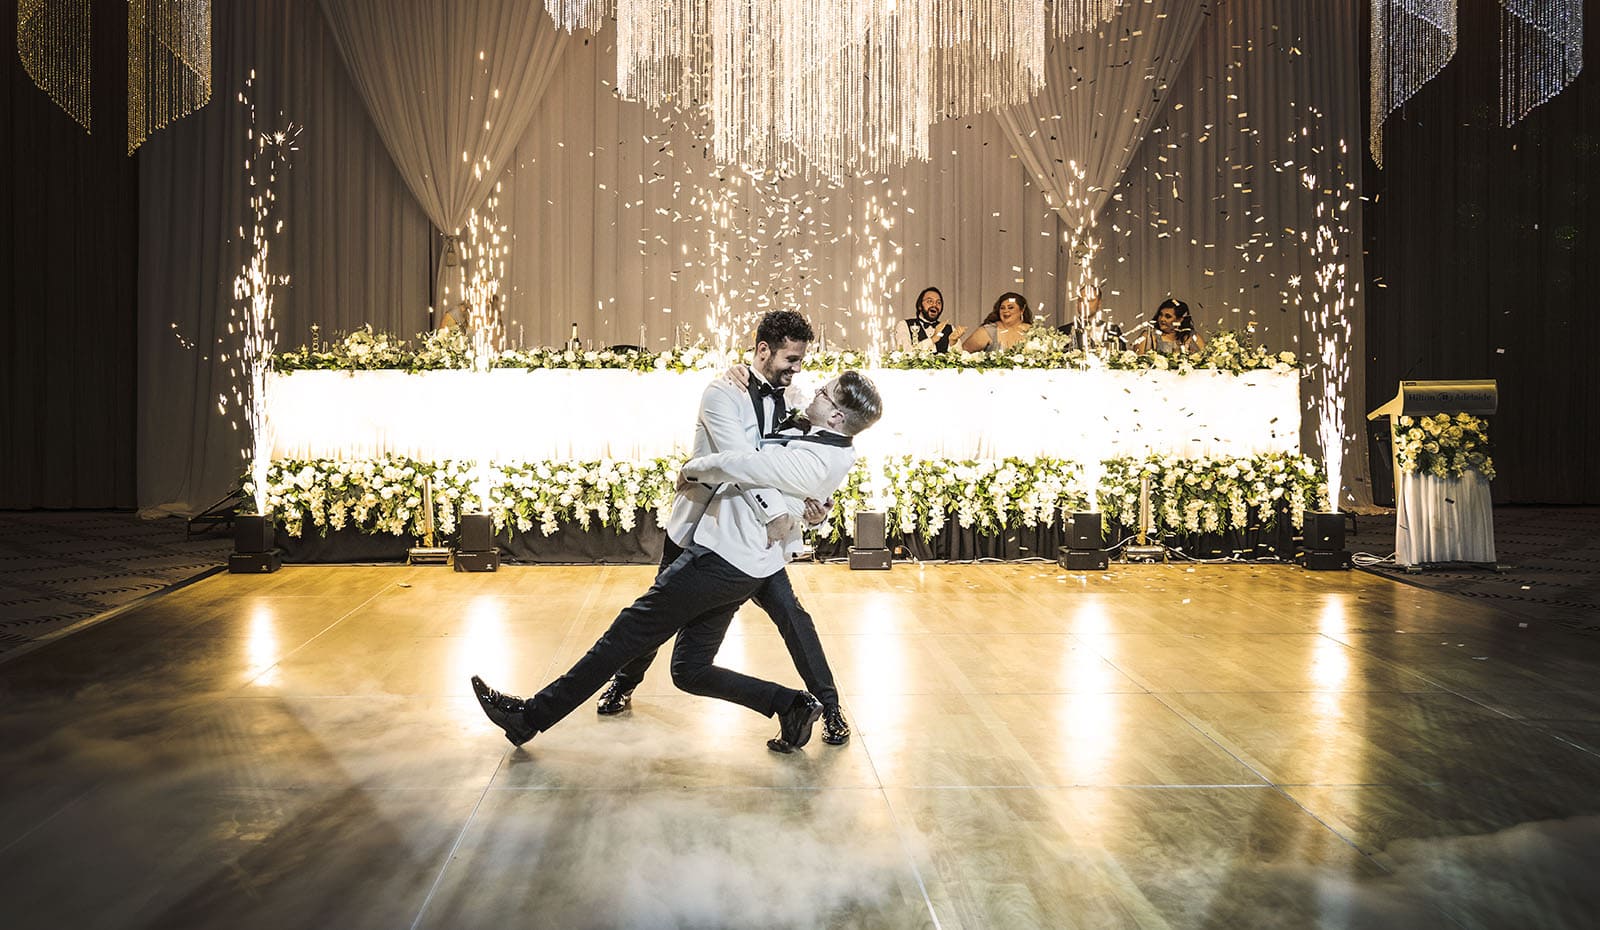
First dance with fireworks at Adelaide Hilton Hotel

Think about who’s at the end of the wedding sparkler exit

Some might have your parents at the end of the tunnel so they can be the last people you say goodbye to, or whomever really – could be your dog? That’d be cute! Give them a farewell hug and kiss, it’s just a nice way to end your night.

Have Fun

Enjoy the exit! Dance, jump, sing, and kiss. Be in the moment with your family and friends and do whatever you want. Don’t worry about the camera or posing, just have fun and soak it in!

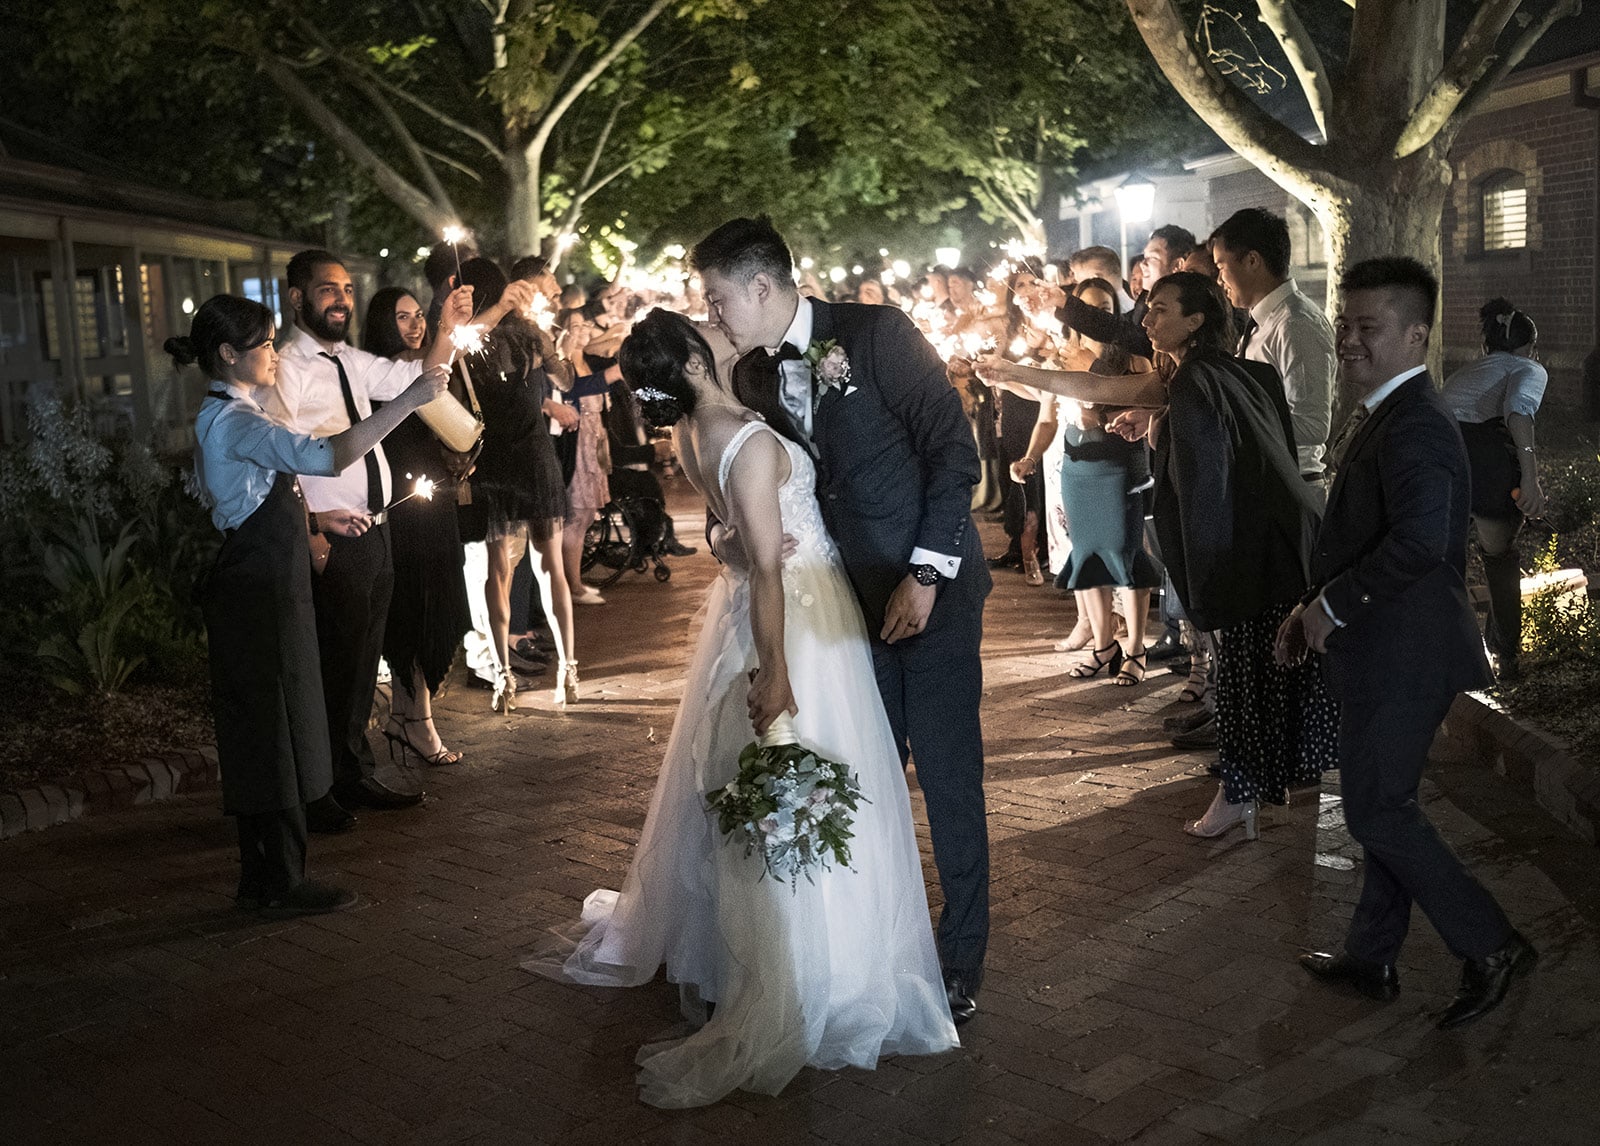
Bride and groom kissing at end of sparkler run

These tips will help you plan an awesome wedding sparkler exit. With a little planning and preparation, you can make this moment unforgettable.

February 10, 2023/by Steven Duncan
Interesting, ideas

Transform Your Wedding Photos Into Fun Family DIY Crafts 

Photographs are visual representations of various vital memories in your life. That’s why many households frame and display them where guests can also view those moments. But there are other ways to turn them into arts and crafts that you and your family can create. For instance, you can transform your wedding photos into more eye-catching and dramatic ones. Here are craft ideas you can have fun making with your loved ones. 

Some ideas to transform your wedding photos!

  • Diamond Painting 

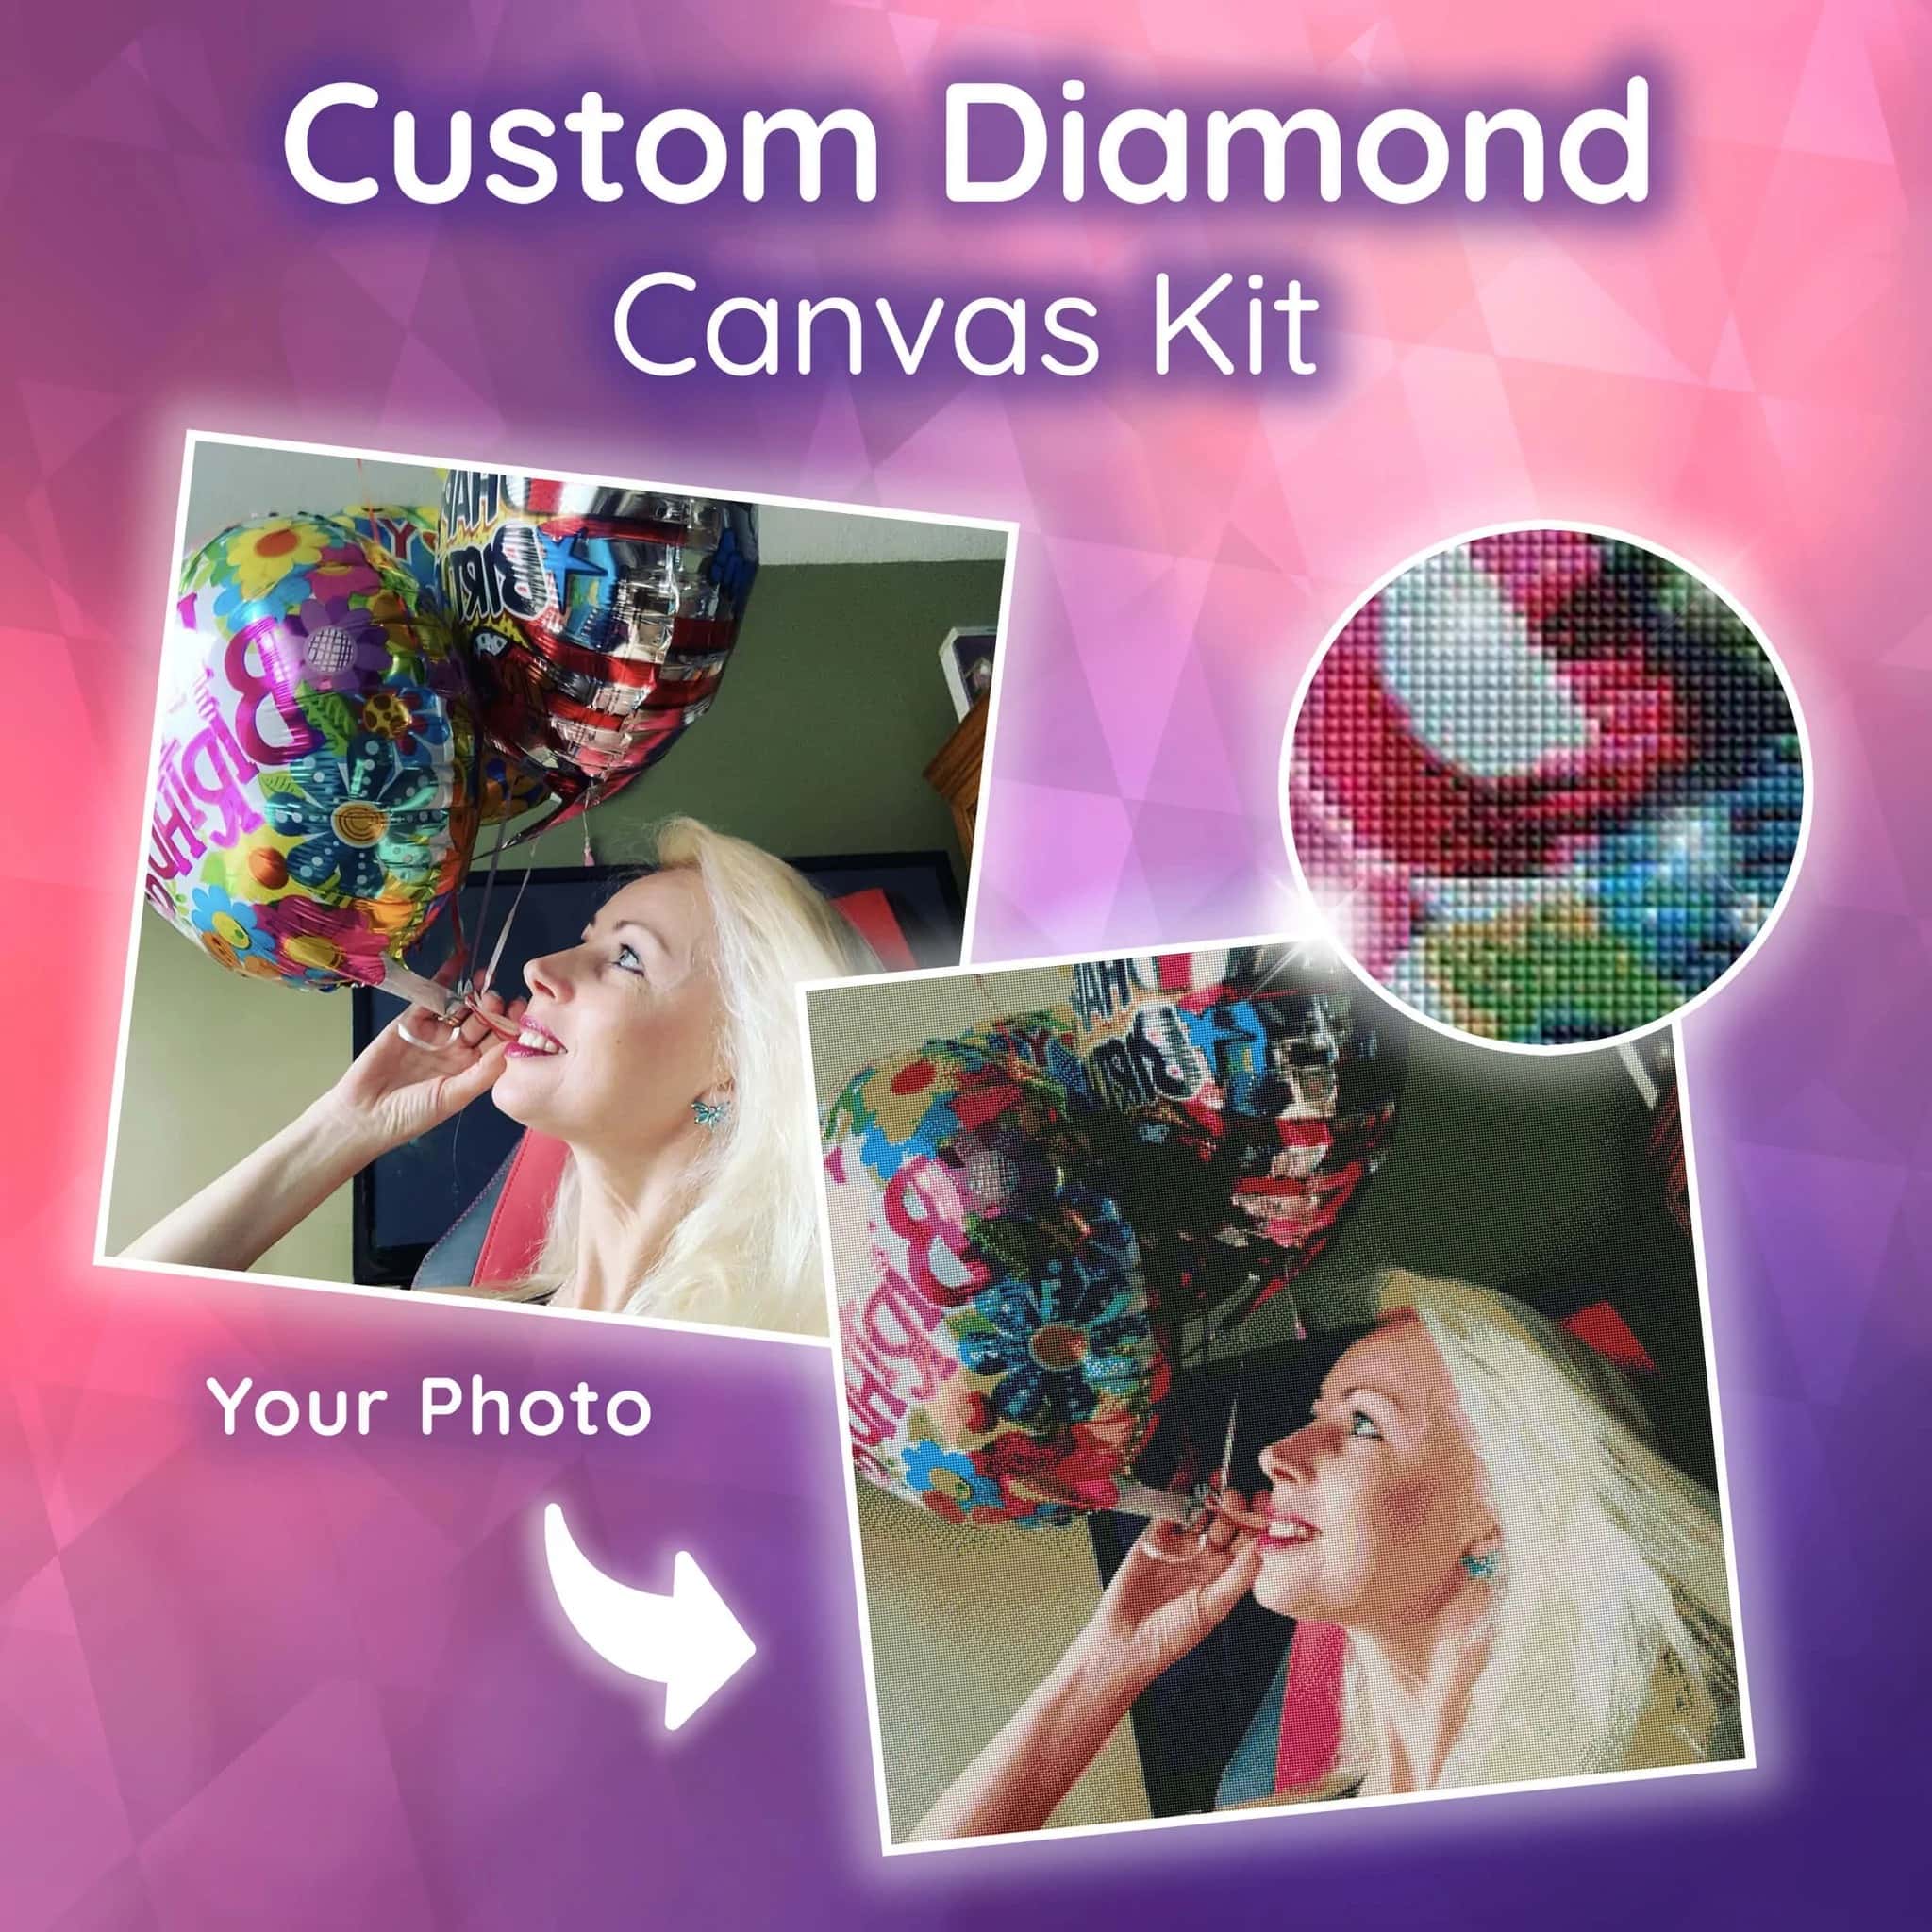
If you’re unfamiliar with diamond painting, it’s an excellent time to get introduced to a fun and easy crafting experience that even older kids and teens can enjoy. Diamond painting is much like painting by numbers, where colors have corresponding numbers. With diamond painting, patterns come with symbols matched with colored resin rhinestones. It’s similar to cross-stitching but with different materials.  

You can turn any of your wedding photos into a personalised diamond painting set. Websites that offer this service allows you to upload your favorite wedding photo, choose the shape and size you want and place an order for the pattern along with the tools. Once you have everything, you can start diamond painting and allow your family members to try it. It’s a fun and engaging hobby that anyone in your family can do. You can also frame the finished product and hang it on display.  

Diamond
custom_diamond_canvas_kit_img_2

  • Glowing Photo Luminaries 

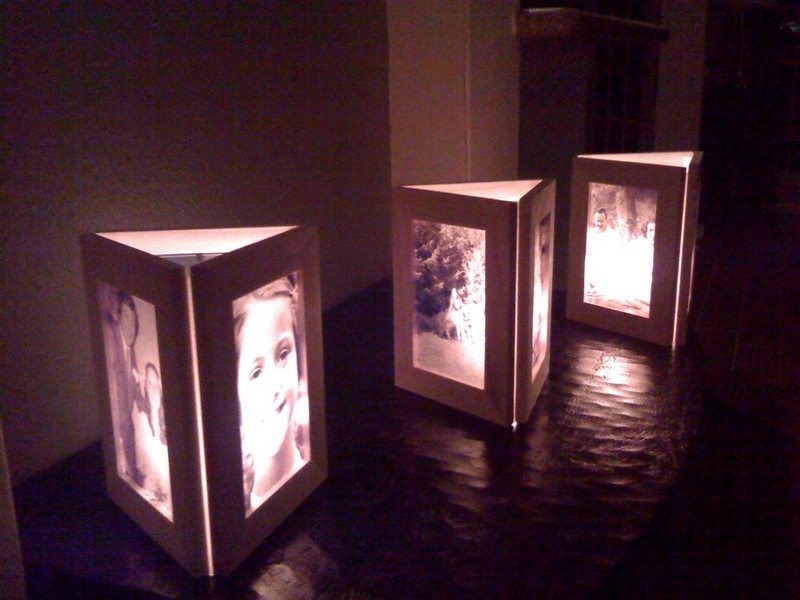
If you like to light scented candles at home, you can create a luminary using some of your wedding photos. Luminaries are decorations made of paper that have candles inside. An example is a white paper bag containing a candle that makes a simple but elegant visual. It invokes a feeling of peace and serenity, which is likely why homes have it. 

To create this project, you must print your favorite wedding photos from a barn-themed or winery wedding on vellum paper. You’ll need four different pictures to create a box-like luminary. Trim vellum photos to smaller sizes.  

Source four picture frames and ensure they are the same size and design. Remove the frame backing because you won’t need them. Add the trimmed printed vellum paper onto the back of the frame, and then add the glass cover. Do all four frames. You can choose three frames instead of four to create a triangular-shaped luminary.  

Use industrial glue or a glue gun and attach all the corners of the frames, ensuring that the sides with the glass will be facing inwards. The glass protects the vellum paper from the candle flame. You can also substitute a battery-powered flameless candle as a safer option.  

Photo Luminaries
Photo Luminaries

Image source

  • Bottlecap Fridge Magnets 

The fridge door is one area you and your family see daily, making it the perfect place even for your wedding photos. You can create fridge magnets that your kids can do in as short as 30 minutes. You’ll need wedding photos, bottle caps, strong glue, and small circular magnets.  

First, print your wedding photos. You’ll need to print them smaller since you’ll put them on bottle caps. Trace the bottle cap around the areas you want to fit into and cut them. Get some glue and attach the pictures inside the bottle caps. Then get the magnets and glue them at the back of the bottle caps.  

You can use these magnets to hold receipts and notes while your wedding photos are in perfect view.  

  • DIY Photo Tree 

A photo tree is a unique way of using natural materials to display your wedding photos. You can source small dried branches. However, if you can’t find one, gather twigs and sticks, and make your own. Get a vase and place them inside. Doing this can also double as an outdoor activity for your kids as it creates a good excuse to get them walking around in nature.   

You can glue loose ribbons at the back of the photos and tie them to the branches. Make sure to spread them around to make them more aesthetically pleasing. You can place this inside your living room with the rest of the family photos.   

photos of the family in various photo frames
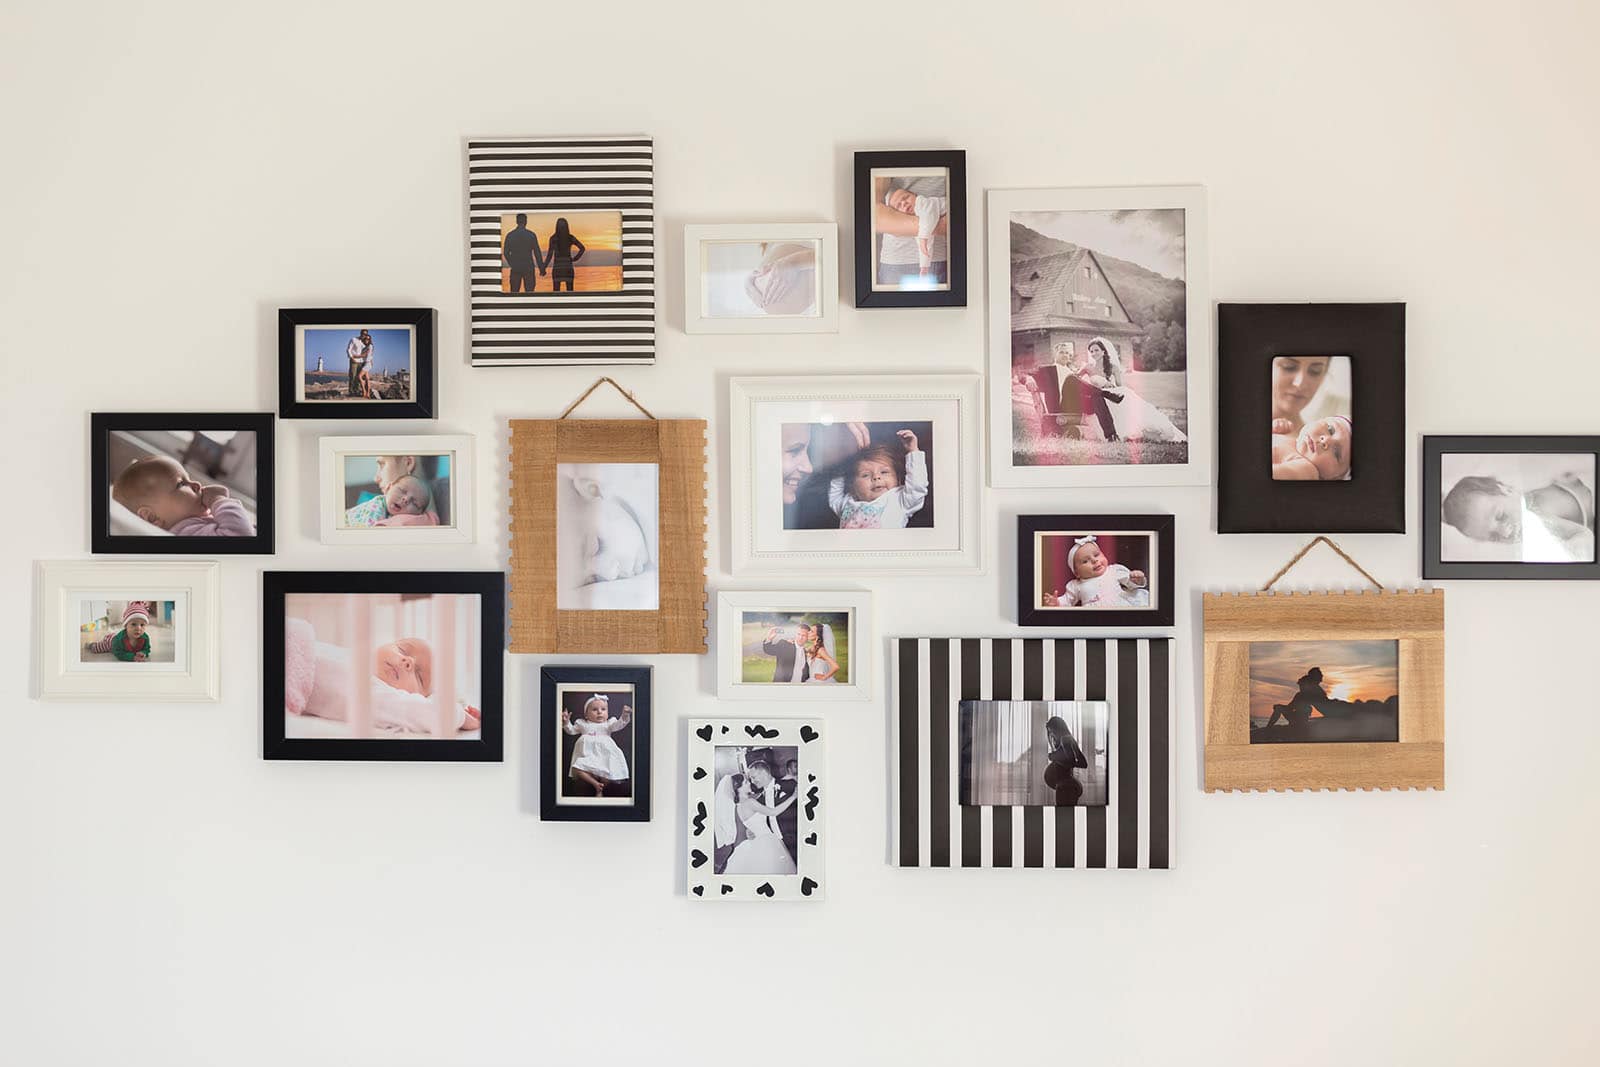
white wall with photos of the family in various photo frames

  • Modge Podge Photo Coasters 

Transform your wedding photos into beverage coasters. You can ask your kids or other family members to apply the mod podge glue. It’s easy to do, and it doesn’t take long before you can use them immediately.  

You’ll need 4 x 6 inches of printed photos, unfinished coasters with grips, Modge Podge glue in the finish you like (matte or glossy), scissors, and a sponge or paintbrush.  

Trace the coasters around the area of the photos and cut them. Using a brush or sponge, apply the glue onto the coaster and stick the picture. Then apply the glue onto the surface of the photo and let it dry.  

Transform your wedding photos
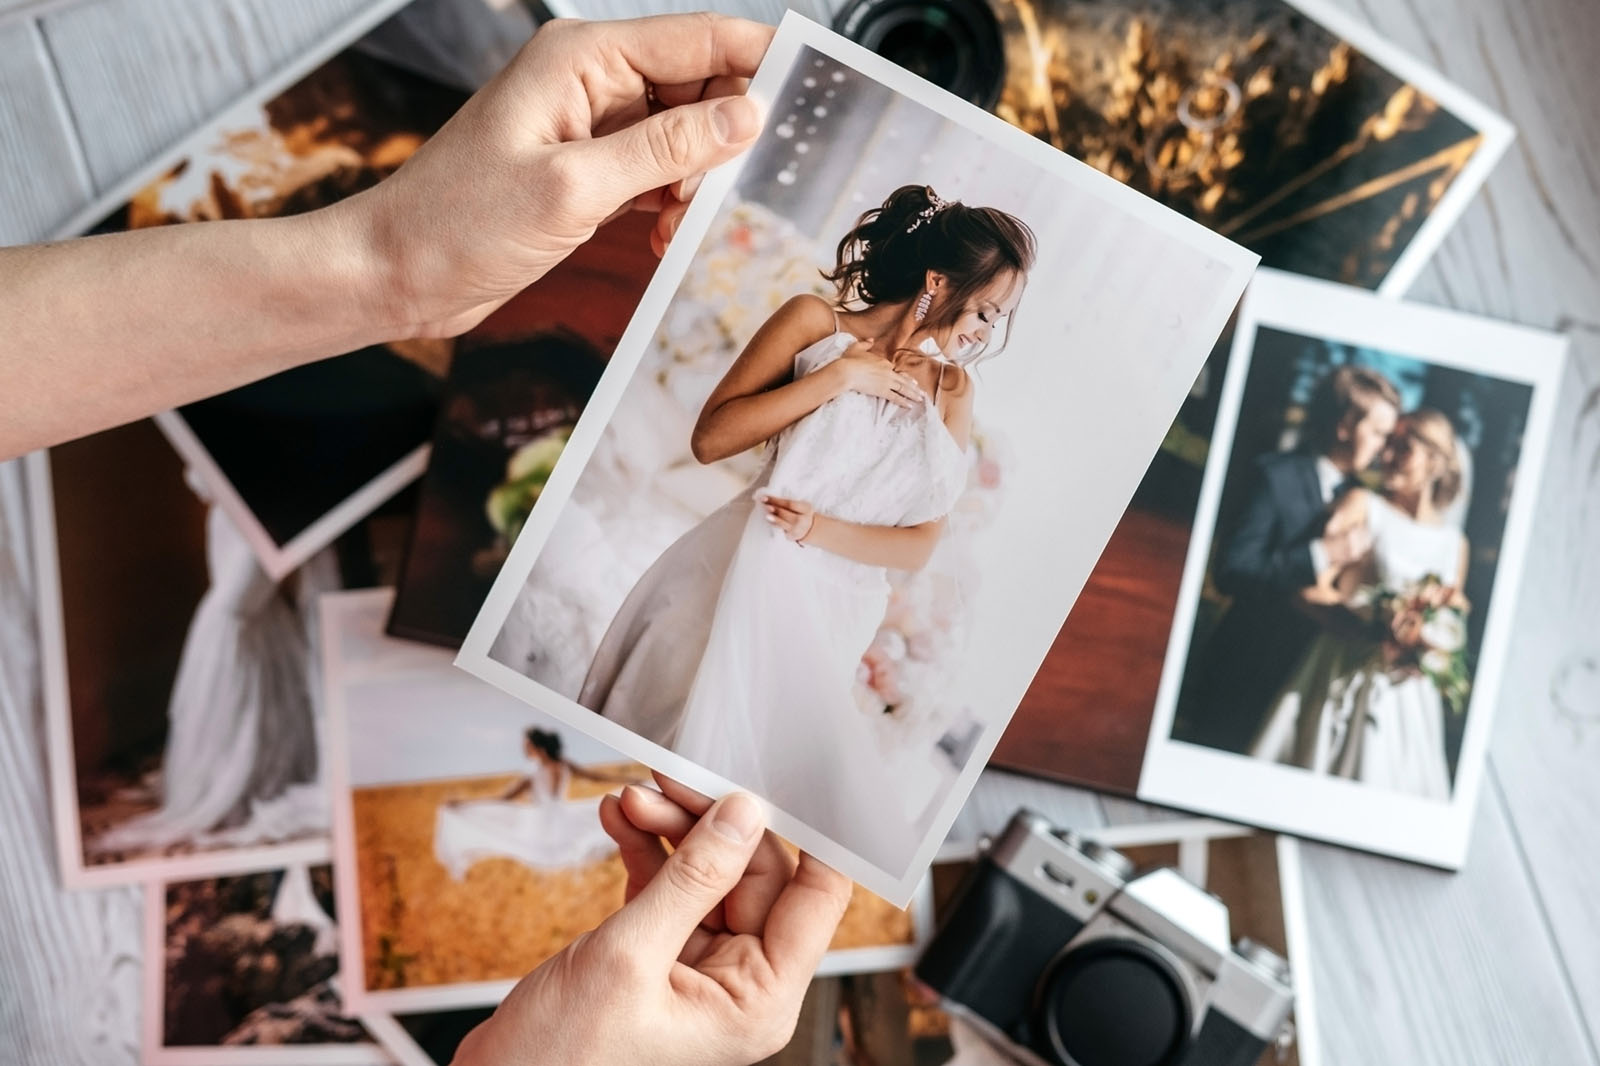
Printed wedding photos with the bride and groom, a vintage black camera and woman hands with photo. Cropped image

Wedding photos don’t have to be kept inside a photo album. You can print out copies and transform your wedding photos use them to make crafts with your family. You can turn them into a diamond painting kit, luminaries, fridge magnets, or a photo tree. There are many more DIY craft ideas that you can find online to make with the rest of the family. Proudly display your wedding photos in different forms that your whole family can see as a reminder of your union. 


February 3, 2023/by Steven Duncan
News & Events, Interesting

SvenStudios Rebrand – Modern and Greener

You may have noticed on my socials, or on my website a new logo popping up about the place? Well this is part of the SvenStudios Rebrand – a simple refresh on what SvenStudios is all about and how we go about things.

I have been shooting weddings for over 16 years now – I’ve shot over 350 in Australia and around the world and over this time I’ve developed a bit of a unique mentality when it comes to shooting weddings. More recently my wife, Luisa has joined me primarily shooting the videography while I’m taking the photos – which is a bit of a change on how I would otherwise operate.

With a clear vision on what SvenStudios is all about when it comes to wedding photography and videography, and the changes in our underlying business model, the ‘SvenStudios rebrand’ was born!

First up is the new SvenStudios Logo – our new logo is representative of all the things that SvenStudios believes in and gives an insight into our goals when shooting at a wedding in an abstract way.

Old Logo

The old SvenStudios logo was modelled on the typical ‘camera iris’ motif that was quite common to use as a photographer’s logo back when I made it about 16 years ago. Back then my primary focus was landscape and travel photography – so I transformed the iris into a bit of a landscape scene.

If you look closely you can see me on the lower right standing with a tripod on a beach. Directly behind is a lighthouse, then a bird makes up the top of the logo, and finally a wave crashing into the beach where I’m standing. This creates a bit of a narrative for the viewer based loosely on how the fibonacci spiral works in the composition of photography – telling a story within an image.

As you can see the logo has undergone a radical simplification – making it more modern and simplified – but hidden in it’s simplicity is still quite a bit of meaning, just a bit more abstract than my old logo.

SvenStudios Rebrand - Modern and Greener 1
SvenStudios Logo Meaning

New Logo

SvenStudios Logo
NEW LOGO

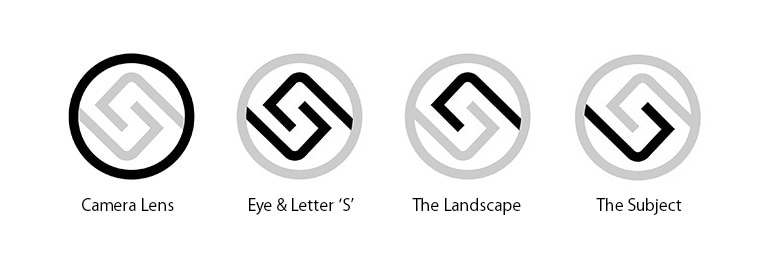
I wanted the new SvenStudios logo to represent our past, but also what we are all about now. The past is represented in the new logo by keeping the circular shape – representing the camera iris. The center of the new logo is also still white showing that the attention to detail and development of stunning works of art in our photography is paramount.

There are two major factors in what we focus most on when producing our work, and that is the landscape surrounding us, and the married couple. These two factors are represented by the top section and the bottom section of the logo, which come together to make an ‘S’ for SvenStudios.

Here’s a bit of an animation illustrating this thought process.


SvenStudios Rebrand – Greener

It’s the focus on the landscape and producing works of art within the context of a wedding that has caused the development of our unique style of wedding photography – it’s an important part of why we have been so successful.

To show our connection to our surrounds and show it respect, we realised that we needed to preserve what we have.

SvenStudios has always been carbon neutral by offsetting 3 tonnes of carbon per year while also donating to the Australian disaster relief fund, while also giving discounts to members of the CFS and emergency services – but now we have become a member of 1% for the Planet.

This means that a minimum of 1% of all sales through SvenStudios is to be donated to an Earth Friendly charity.

1% for the Planet member logo with a blue globe and text

This amazing initiative is geared towards businesses of all sizes across the globe and it’s a small price to pay for preserving what we have, and what we use to make a living – ie our surrounds! To date, the initiative has given over US$435 million in environmental solutions, and now SvenStudios – with your help, will also be contributing.


January 29, 2023/by Steven Duncan
Page 16 of 38«‹1415161718›»

Blog

All
News
Wedding Ideas

Latest

  • Stewart lifts Levi in an embrace on a sunlit path surrounded by dense greenery at Adelaide Botanic Gardens.
    Adelaide Botanic Gardens Proposal – Stewart & Levi
  • Bride and groom embracing beneath the arched brick portico at St Joseph's Chapel in Kensington
    St Joseph’s Chapel Wedding – Diana & Michael
  • Ebony and Punit holding hands on a grassy hillside at sunset in Second Valley, with the coast behind them.
    Second Valley Wedding Shoot – Ebony & Punit
  • Kyle and Bianca embracing beneath strings of fairy lights, with Bianca’s engagement ring visible.
    Tiny House on the Prairie Proposal – Kyle & Bianca
  • Carley and Corey walking hand in hand among tall pine trees at Barristers Block
    Barristers Block Wedding – Carly & Corey

ADELAIDE PHOTOGRAPHY SERVICES

  • Wedding Photography
  • Wedding Videography
  • Newborn Photography
  • Family Photography
  • Couples Photography
  • Proposal Photography
  • Photobooth Hire

ONLINE SHOP

    • Bridal Bouquet Charms
    • Hand Made Wedding Items
    • Super 8 Film to Digital
    • VHS to Digital
    • Live Stream Service
    • Audio Guest Book Hire
    • Happlee QR
    • SelfBooth


QUICK LINKS

  • Home
  • About Svenstudios
  • Testimonials
  • Portfolio
  • Contact
  • Sitemap

FREE SERVICES

  • SeatScan – QR Seating Chart
  • SICC – IG Carousel Composer
  • Slideshow Reel Creator

  • ABIA

AROUND AUSTRALIA & NZ

  • Adelaide
  • Darwin
  • Hobart
  • Canberra
  • Perth
  • Queenstown, NZ
  • International

PHOTO & VIDEO PACKAGES

  • Adelaide Packages
  • Australia-Wide Packages
  • New Zealand-Wide Packages

RESOURCES

  • Adelaide Wedding Venues
  • Darwin Wedding Venues

GET IN TOUCH


  • 40 Horseshoe Dr, Aberfoyle Park SA 5159


  • 0401 403 080


  • sven@svenstudios.com

OFFICE HOURS:

  • Monday-Friday 09:00 – 17:00
  • ABN – 81371854076

CONNECT WITH US


Facebook


Instagram


Pinterest


YouTube


TikTok

© Copyright - SvenStudios - Enfold WordPress Theme by Kriesi
  • Link to Facebook
  • Link to Instagram
  • Link to Youtube
  • Link to Pinterest
  • Link to TikTok
  • Link to Mail
Scroll to top Scroll to top Scroll to top